Power supplyHigh voltage Caution
Removing the Power supply cover (rear)
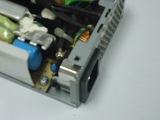
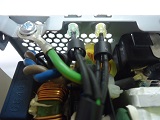
Connection of infrastructure and Power supply sockets are soldered are connected by a thick conductor. Were challenged with a soldering iron, but abandoned heat escapes on lead. I will cut with nippers.
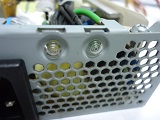
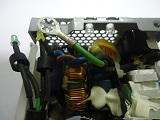
LED is equipped with two, but it is the extent to which this one is plugged. You take off easily by inserting a - flat-blade screwdriver. The ground wire is screwed to the case.
 |
 |
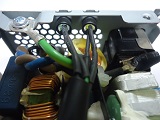 |
| Power socket | LED | From the middle side |
 |
 |
|
| Remove LED | Remove ground wire |
(Side, bottom) Removing the power supply cover
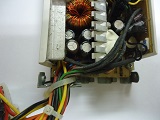
I Remove the cover and base because it is screwed.
 |
 |
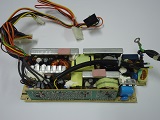 |
| Screw ‡@ | Screw ‡A | (With sub-base) power body |
 |
 |
|
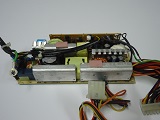
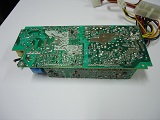
| (With heat sink) the other side | Turned upside down |
Cable
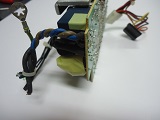
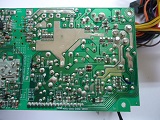
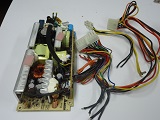
I remove the cable. Remove with a soldering iron input (from 100V), output (to the motherboard), because they are soldered together LED. I was somehow removed this time.
 |
 |
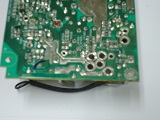 |
| Cable is attached directly to the base | Before removal | (The part with a hole) after removal |
 |
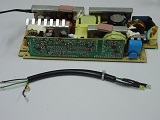 |
|
| Cables that were removed | LED that were removed |
Sub-board
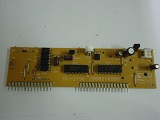
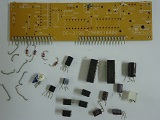
Remove steadily solder pin a lot, and separate.
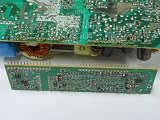 |
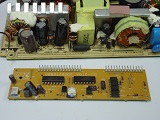 |
|
| Sub-board which is separated | From the opposite side |
Electronic parts removal of the main board
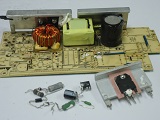
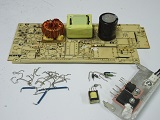
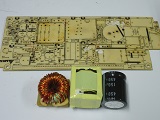
Remove earnestly using a soldering iron
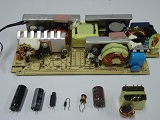 |
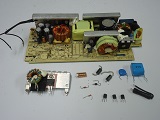 |
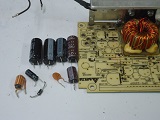 |
| Parts ‡@ | Parts ‡A | Parts ‡B |
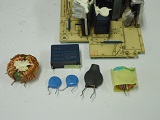 |
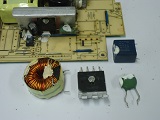 |
 |
| Parts ‡C | Parts ‡D | Parts ‡E |
 |
 |
|
| Parts ‡F | Completed |
