携帯解体
10/22(金)にメンバー1人の家にあったスマートフォンとガラケーを1台づつ分解しました。
解体の目的
- 携帯電話に金属が含まれていることを体感する
- 携帯電話の構造を確認する
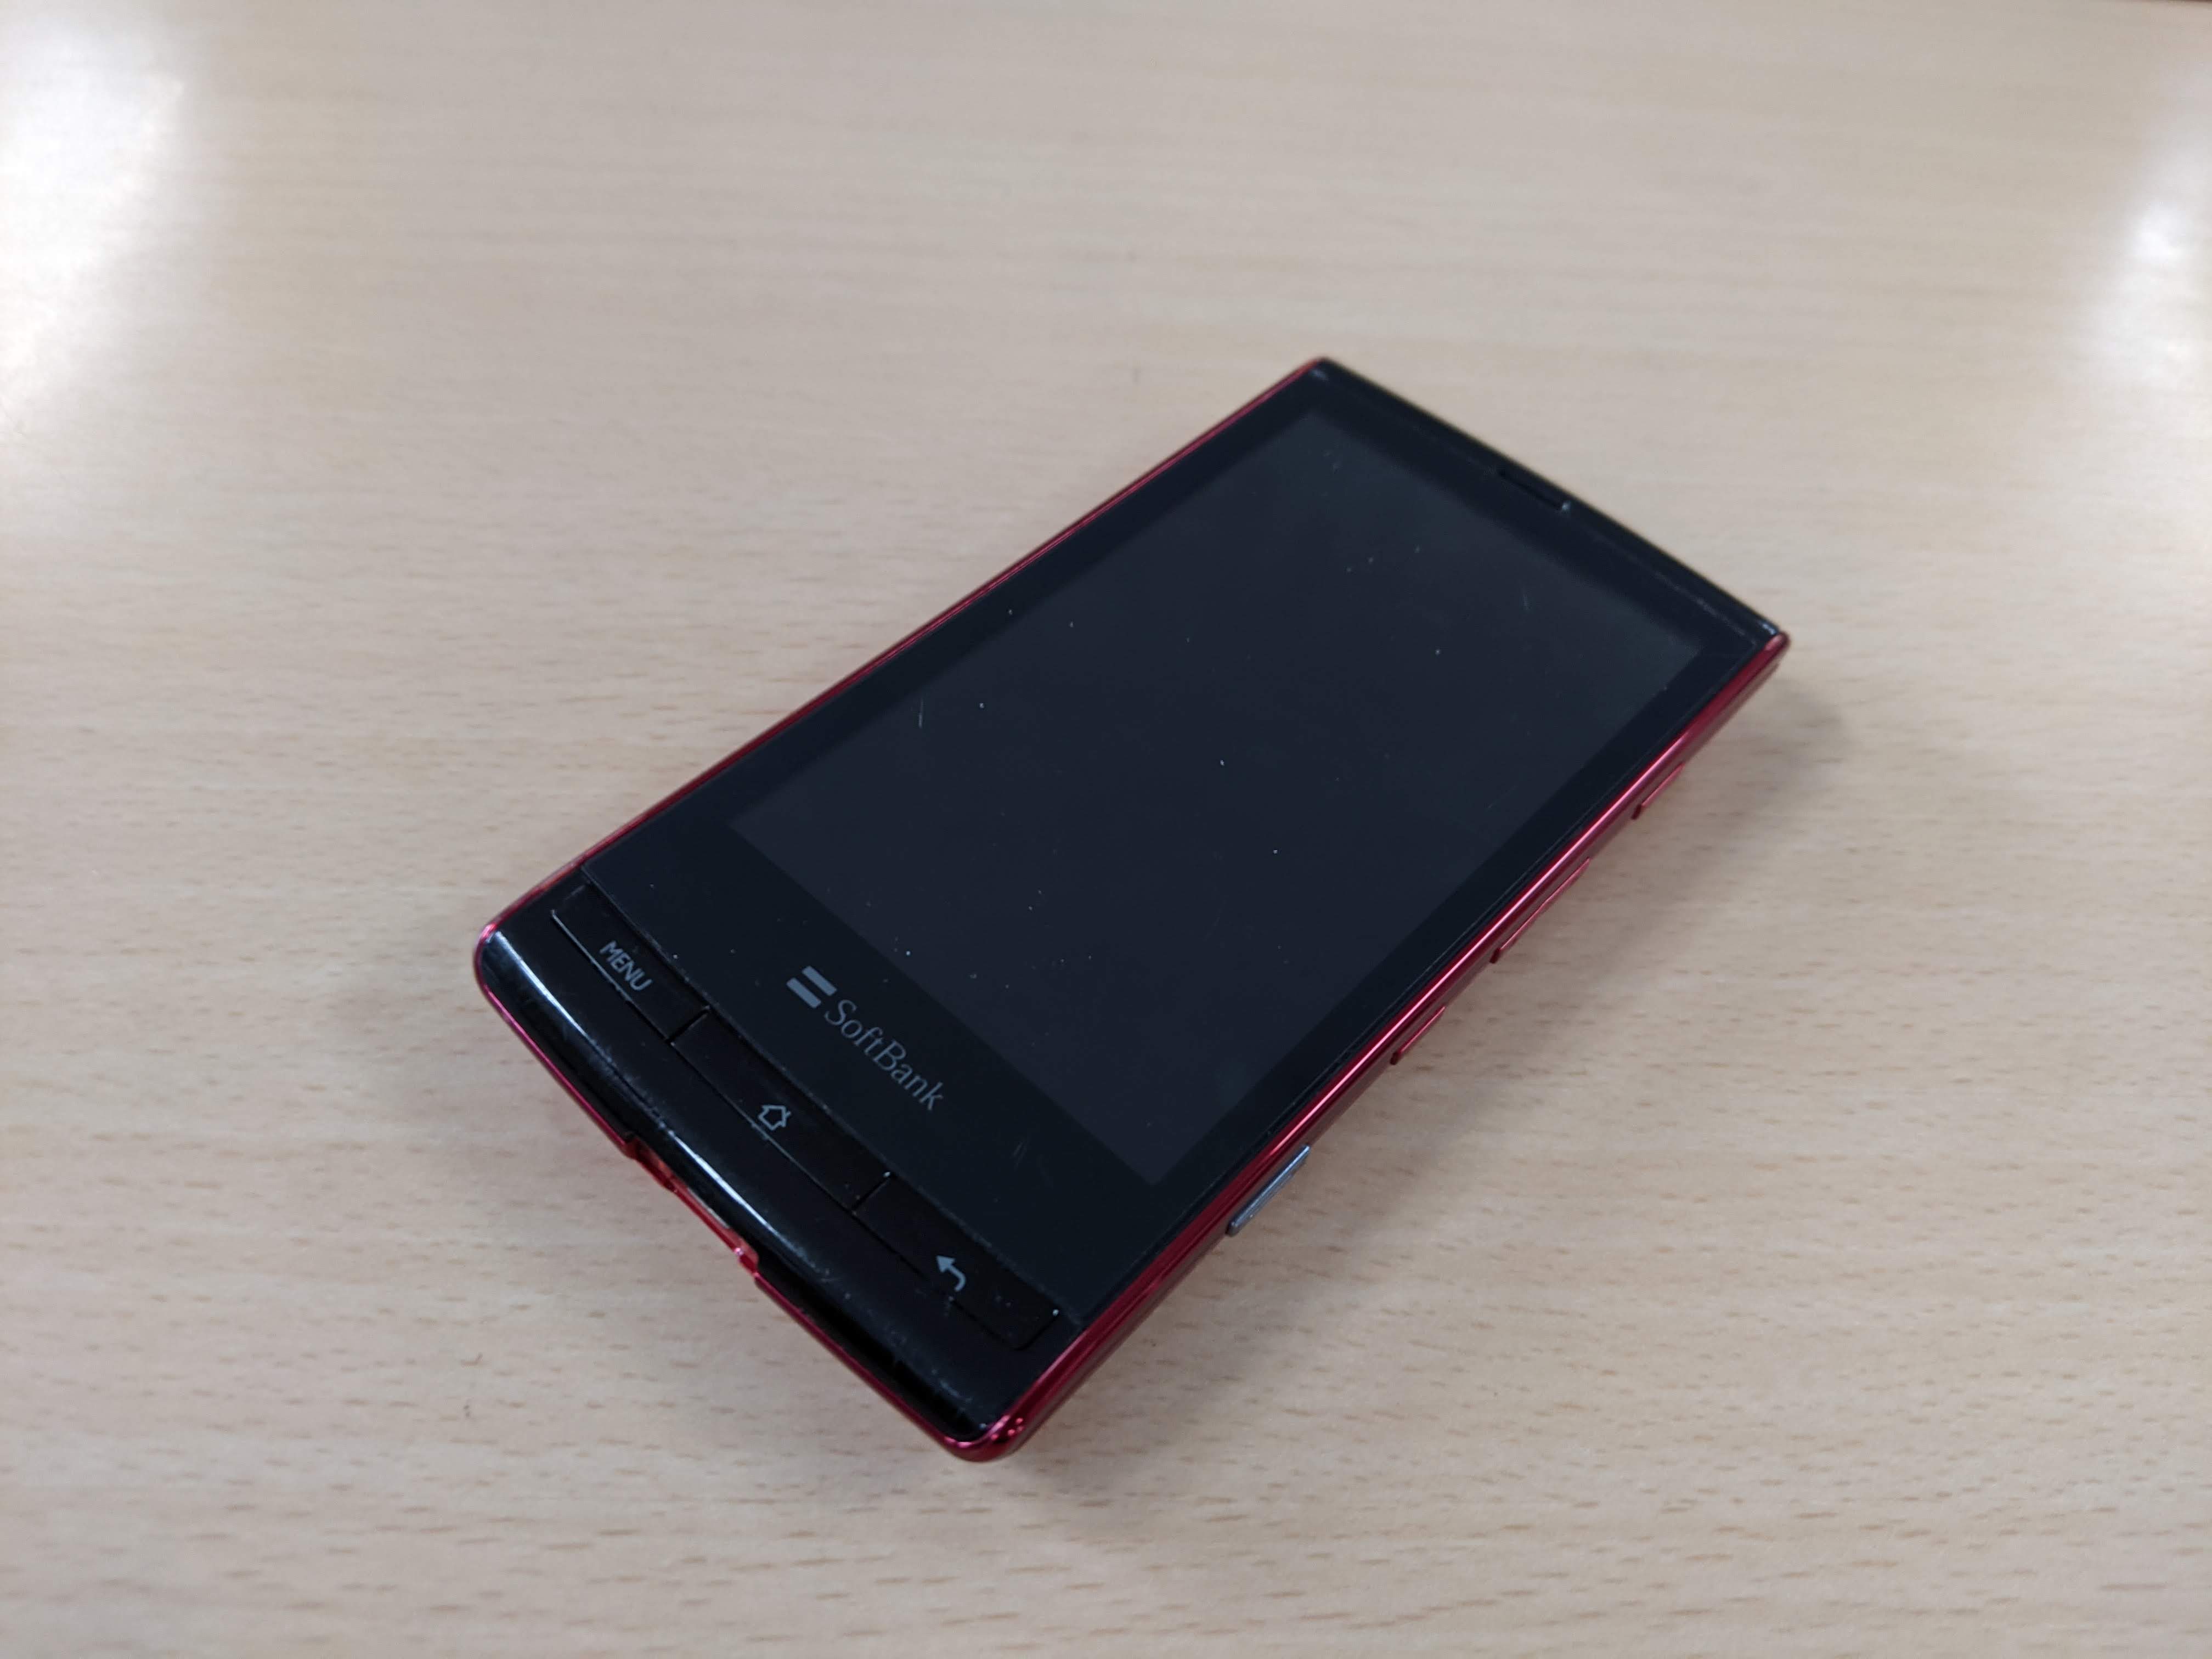
スマートフォン
今回分解するスマホは003SHといって、株式会社SHARPが2010年に製造したものです。
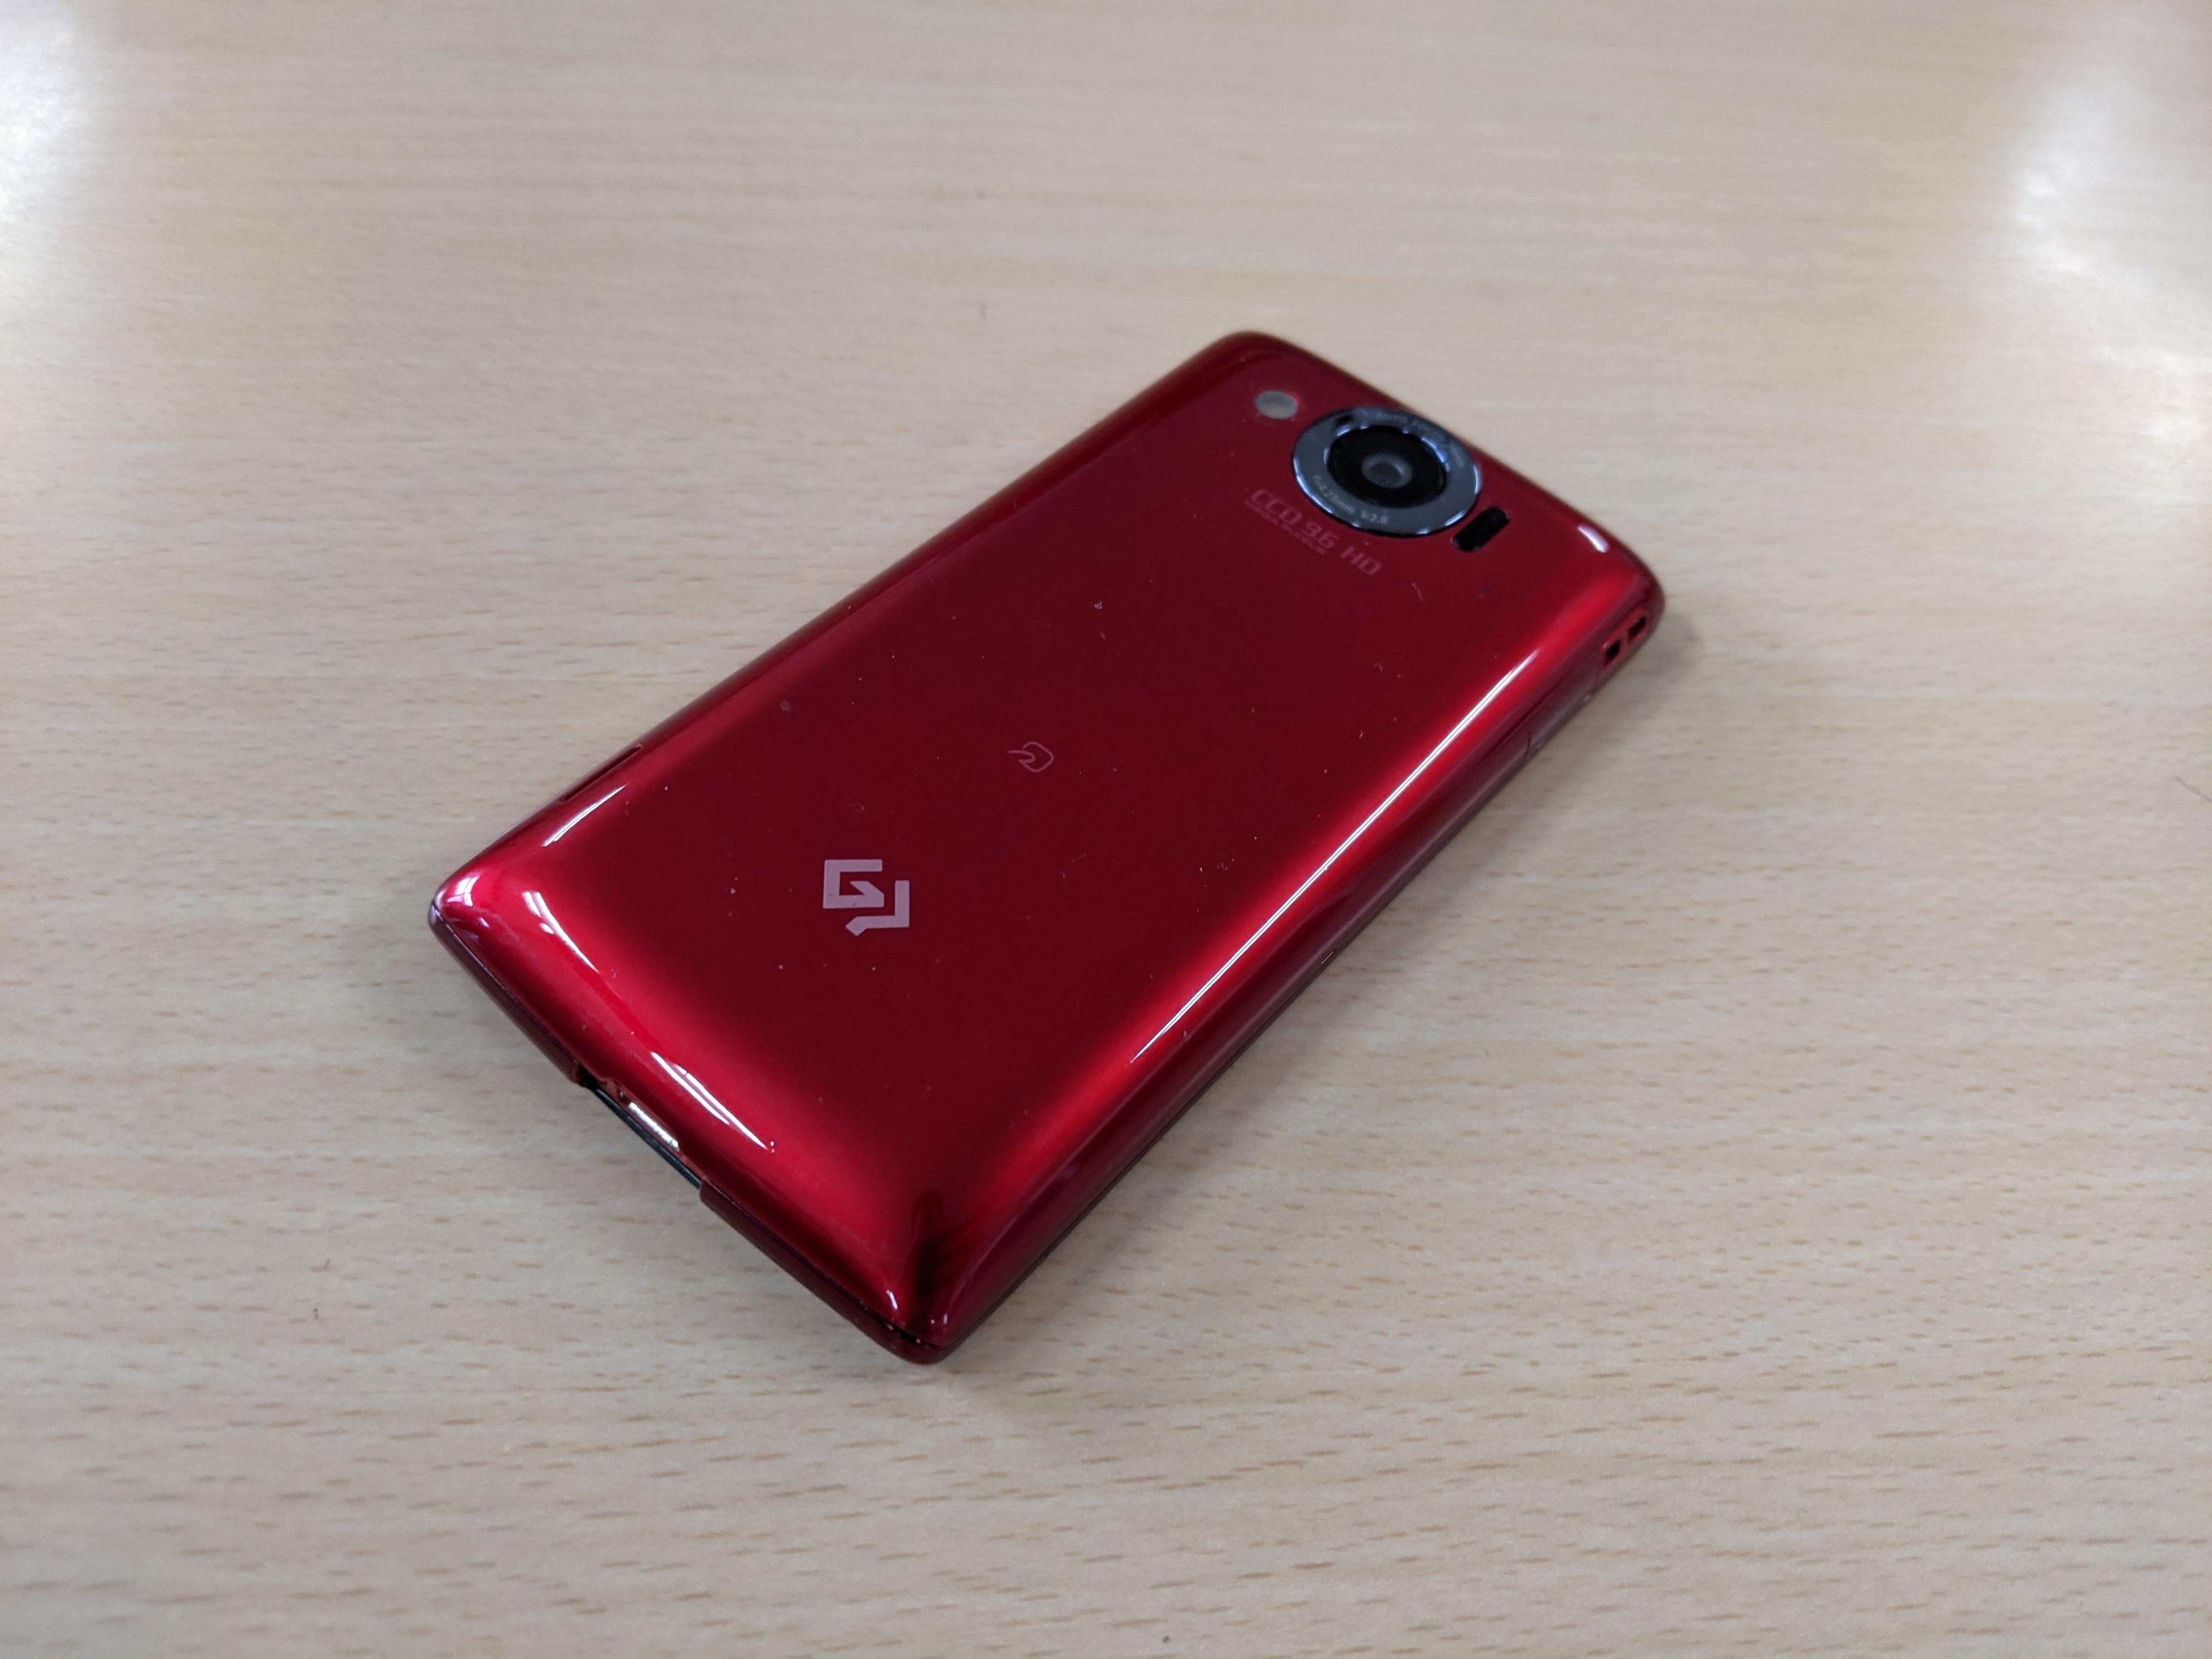
このような古い機器は現在のものよりも部品が外しやすく、分解しやすい傾向があります。 このスマホも同様に、非常に分解しやすい構造になっていました。 まず電源端子のあたりから爪を入れ、裏の板を外します。
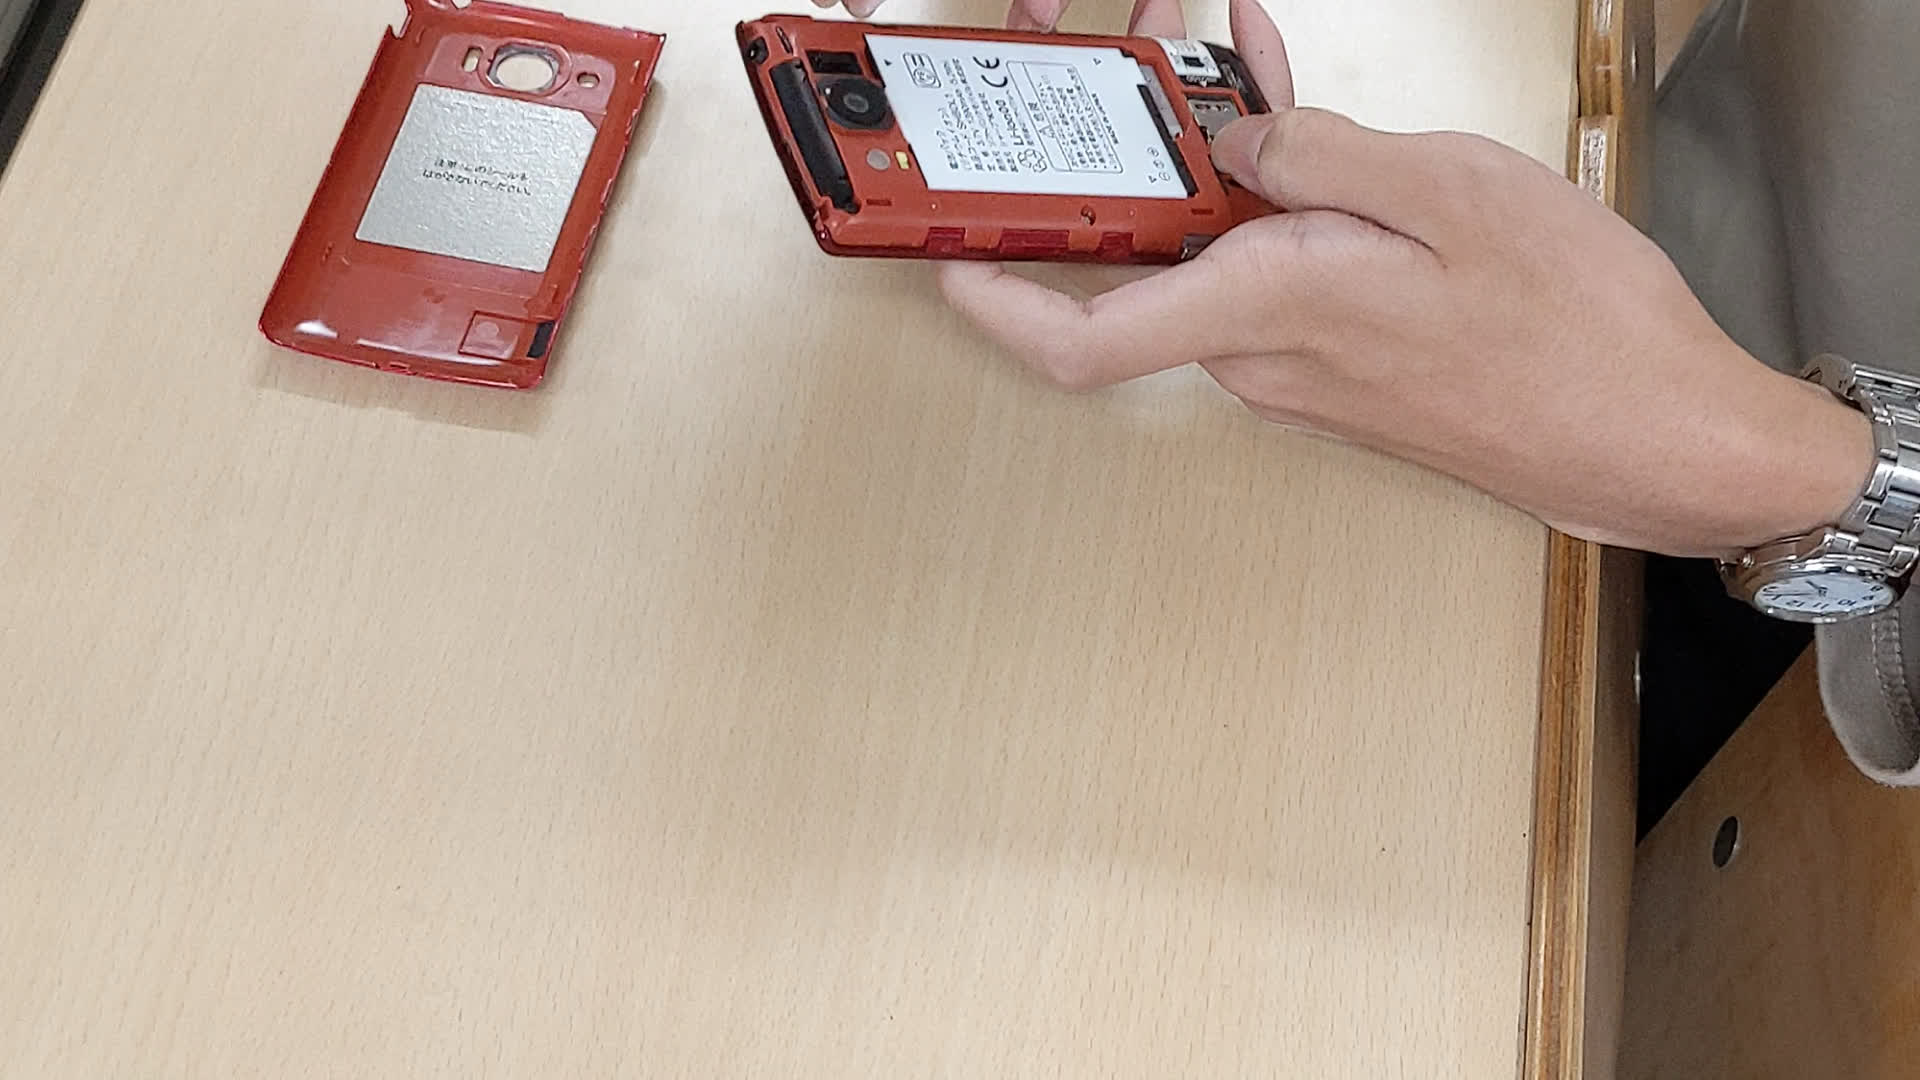
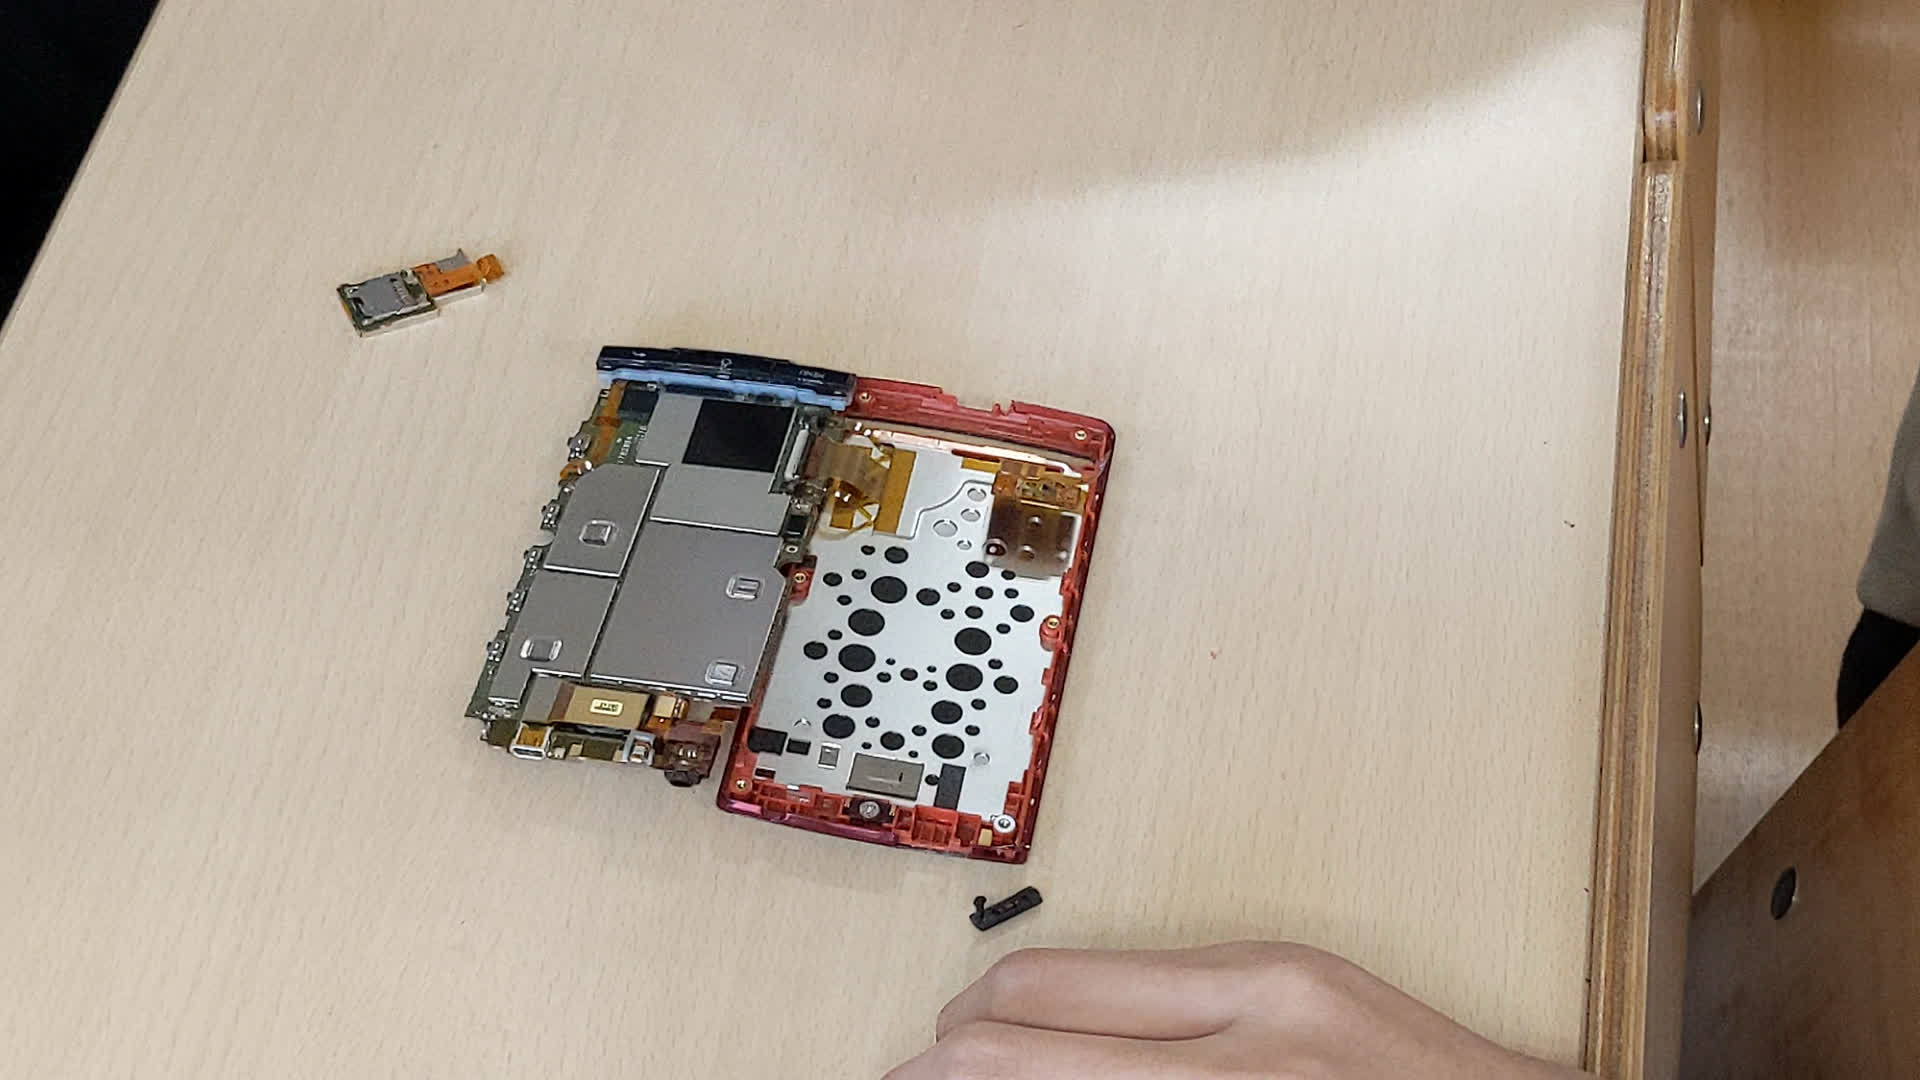
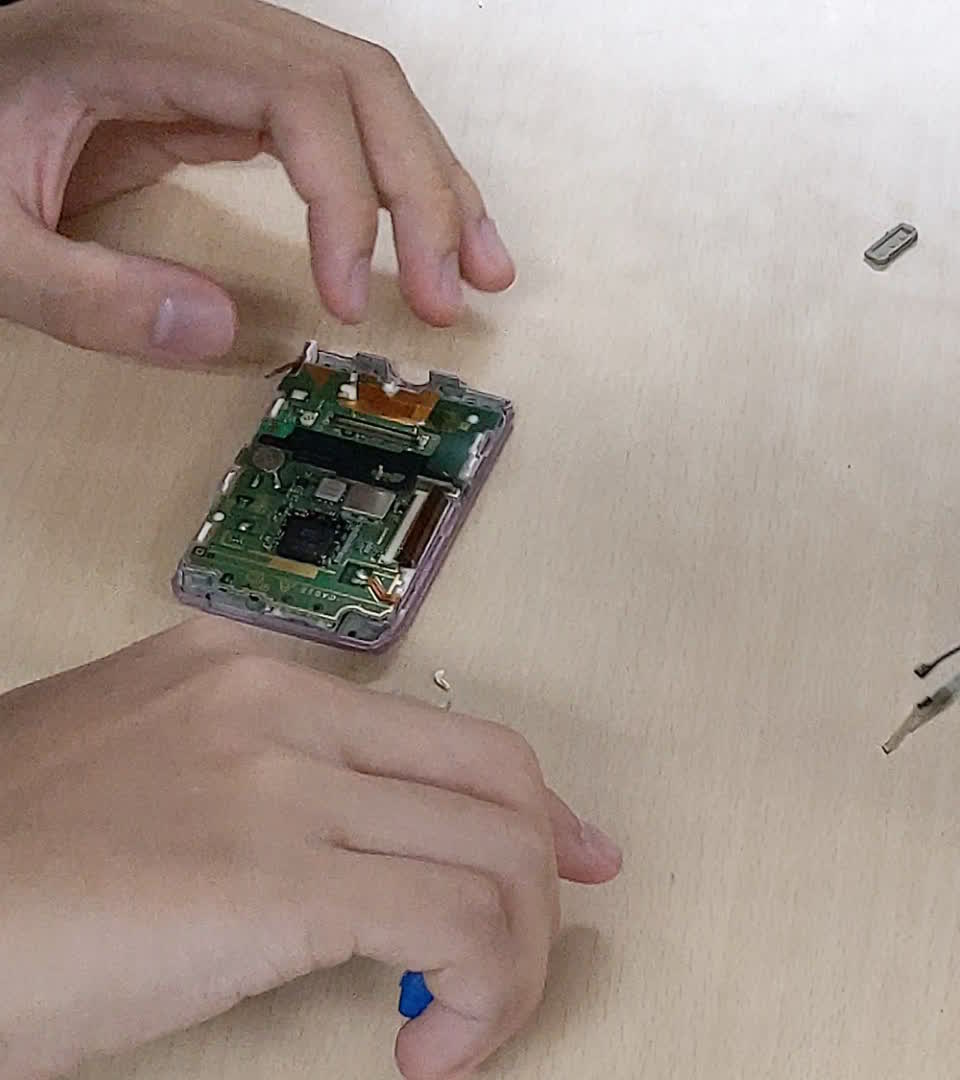
ここからSIMカードやSDカードを入れたり、電池を入れ替えたりすることができるので、ここは開けたことのある人もいるかも知れません。 ロックを外して電池を外し、中に入っているSIMカードやSDカードも外しておきます。 ここでいくつかネジが見えているので、特殊なドライバー(今回は五角ドライバー)を使って外します。 すると基板が見えます。
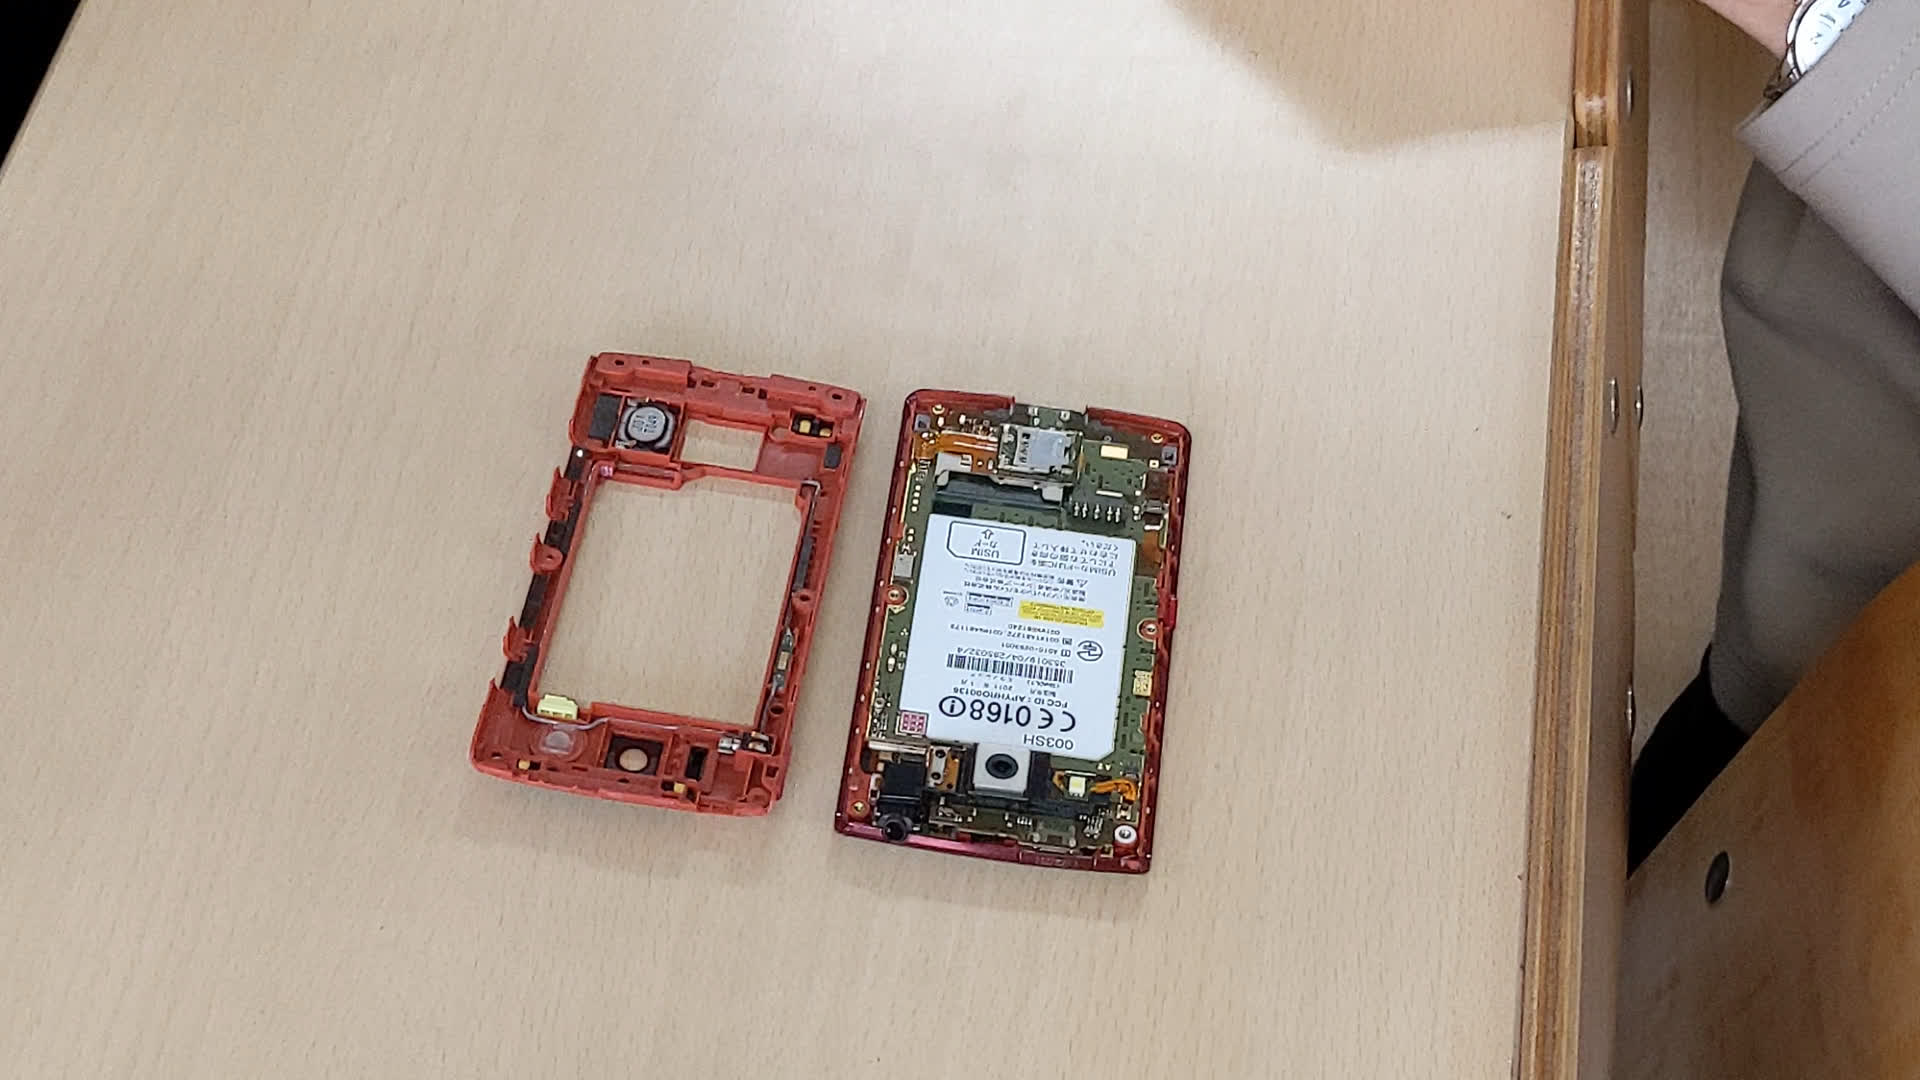
取り外した裏のパネルの方にもスピーカーや振動モーターなどいくつか部品があるので、外しておきます。 基板の縁を止めているプラスチックの小さな爪を潰して外せば、基板を外すことができます。
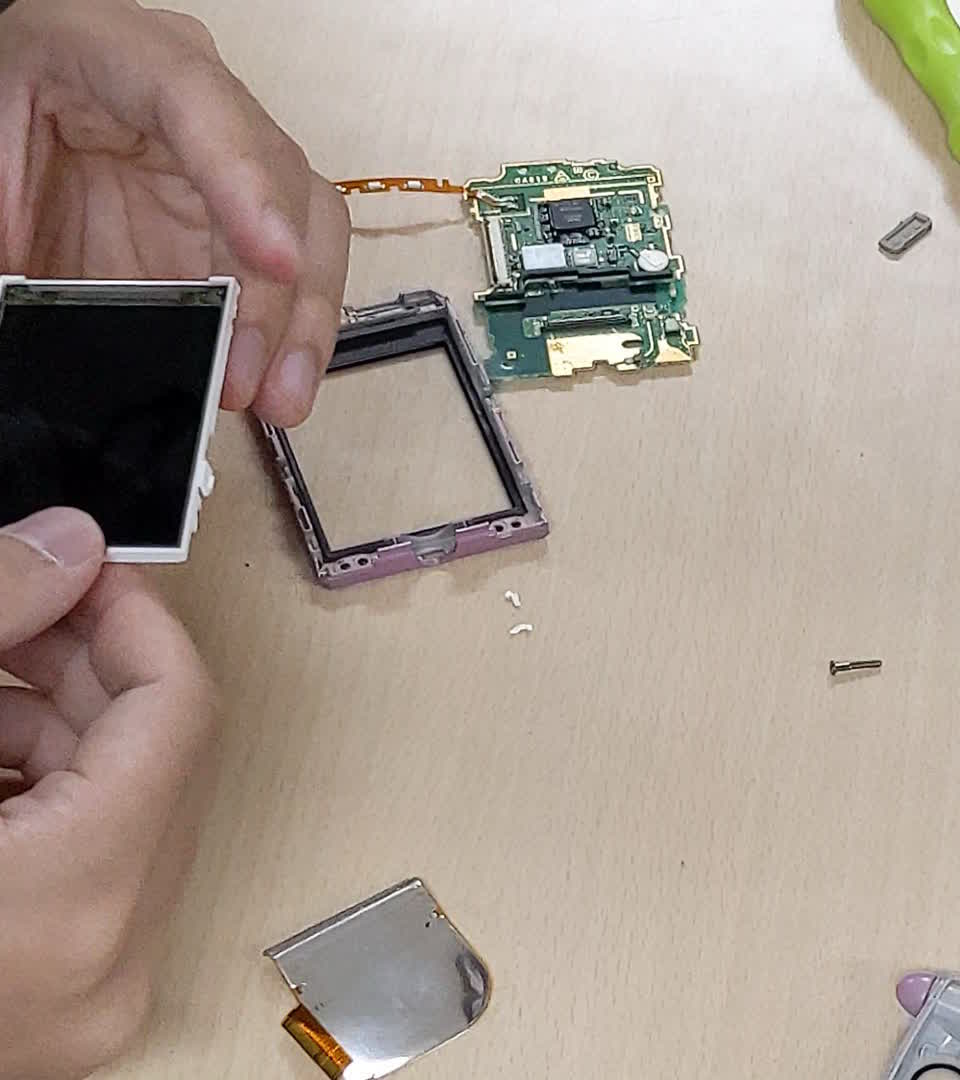
ディスプレイと繋げているフレキシブルケーブルは、端のコネクタから外せます。 ここからは基板にフレキシブルケーブルでくっついているだけのものが多いので、外してしまいます。 基板についている銀色の部品は放熱板なので、下に爪を入れて剥がすことができます。
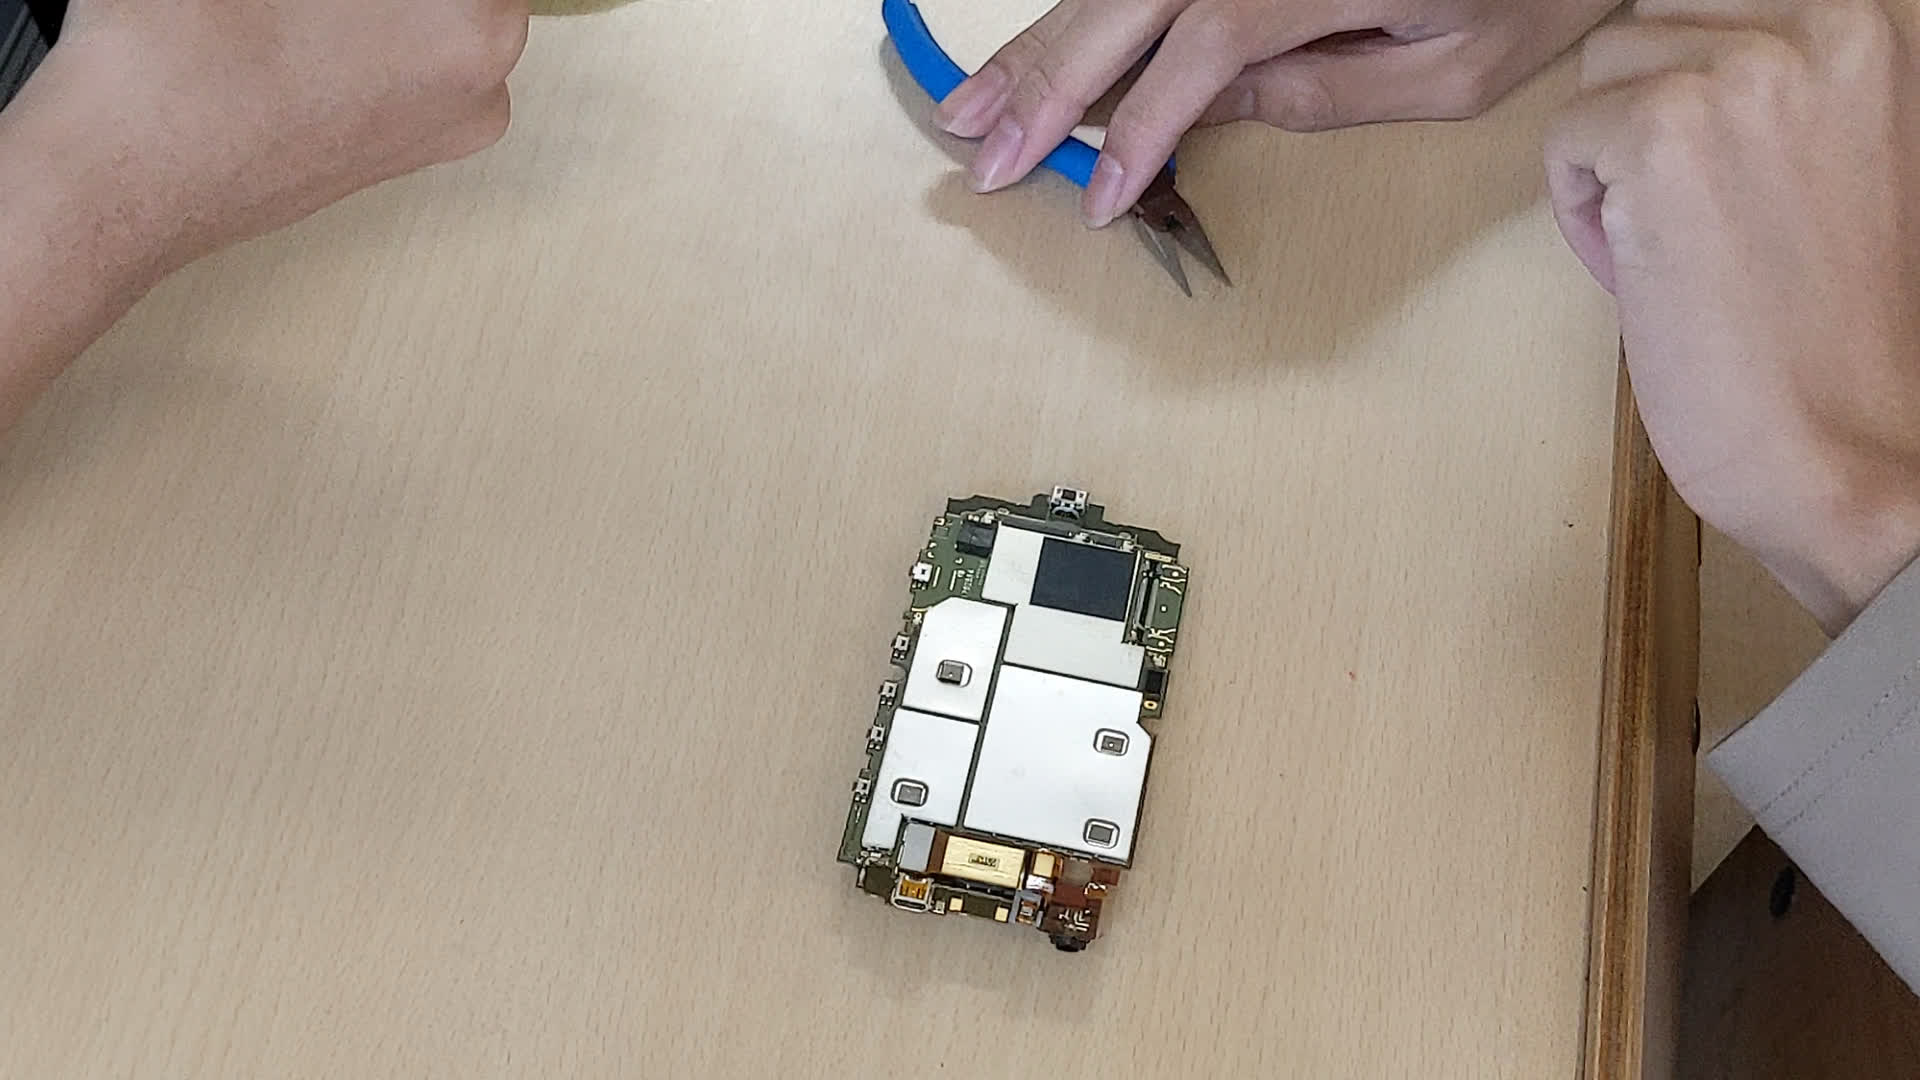
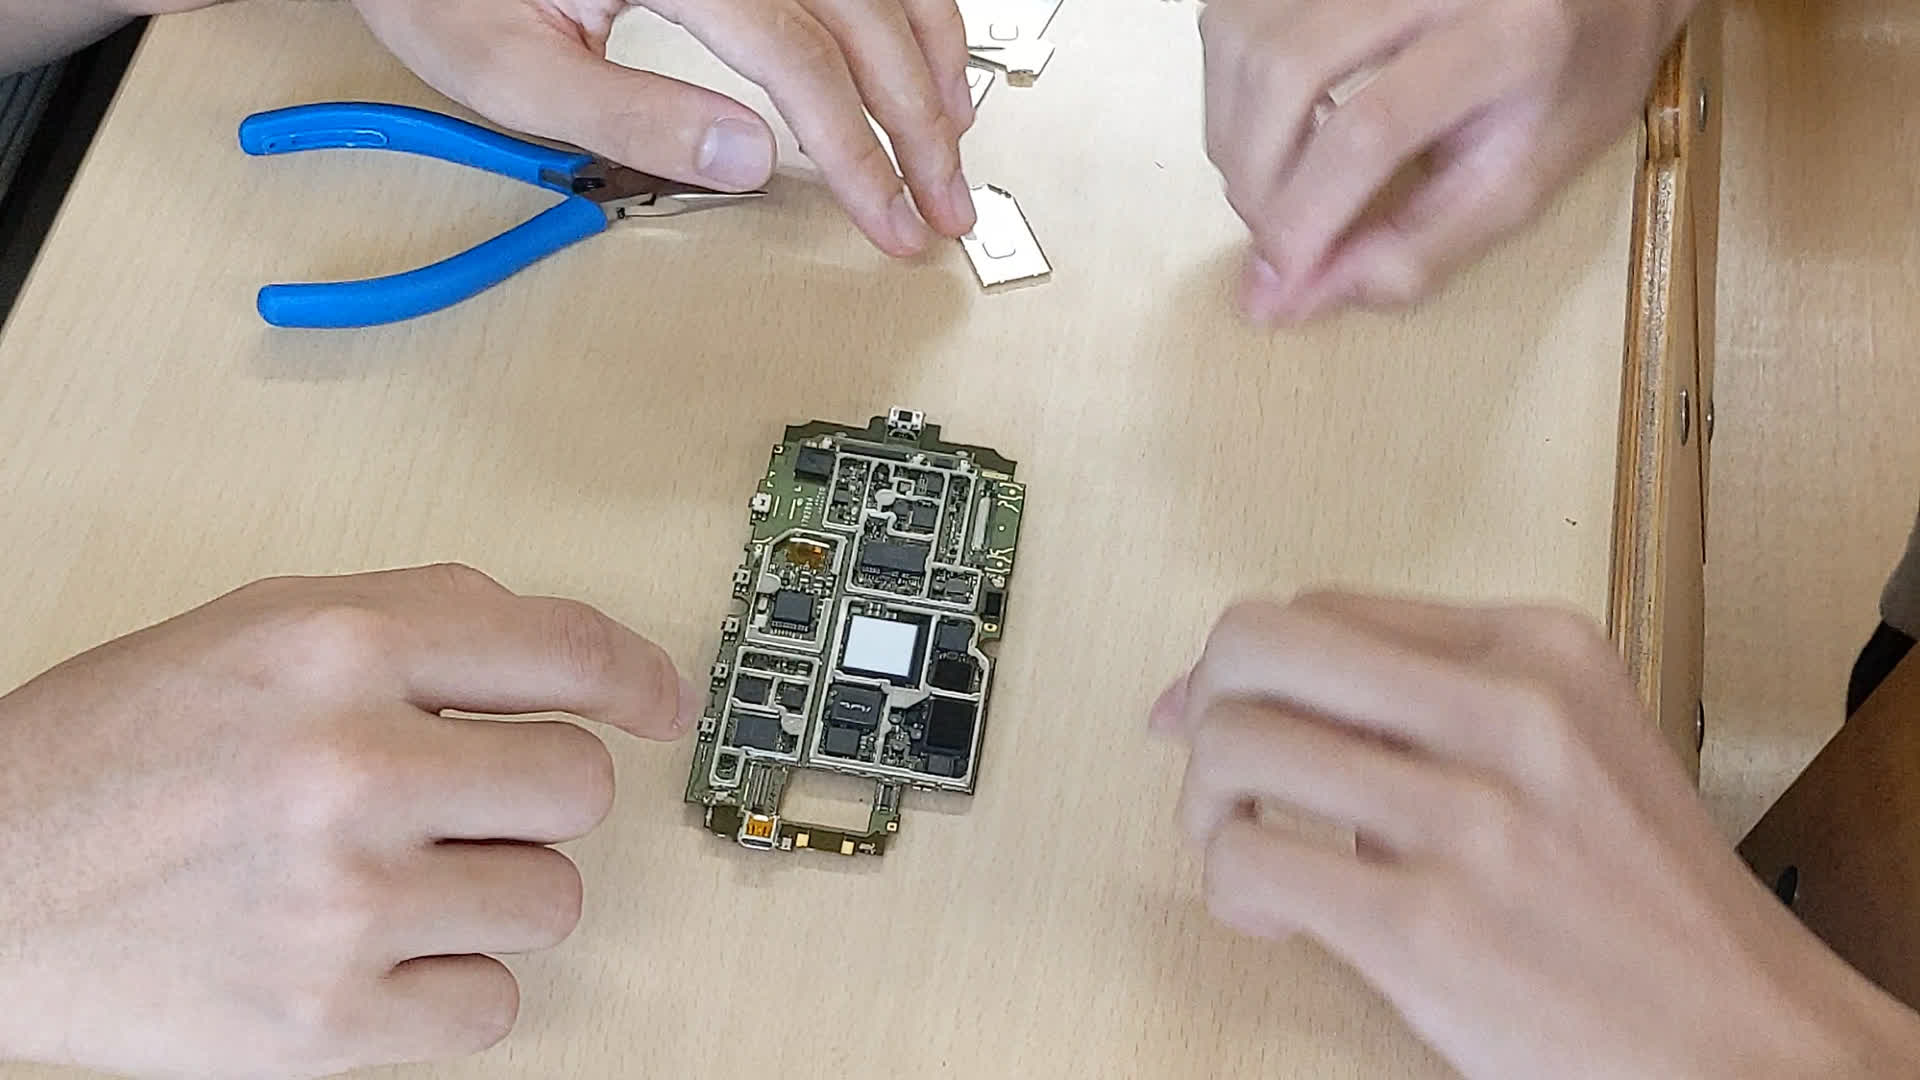
放熱版の下にはよく熱を出すICチップが配置されています。 基板に関してはこれ以上分解するのが難しかったので、基板に関してはこれで終わることにしました。 続いては画面です。 画面の表側のスピーカー部わからマイナスドライバーなどを差し込むことで、表面のガラスを外せます。 ガラスを取った後、裏側から押すことで、液晶モジュールを取り外せます。 この液晶モジュールは層状になっており、剥がすことができます。 結果、光を複雑に反射させるようなフィルムが何枚かと、液晶の本体が取り出せました。
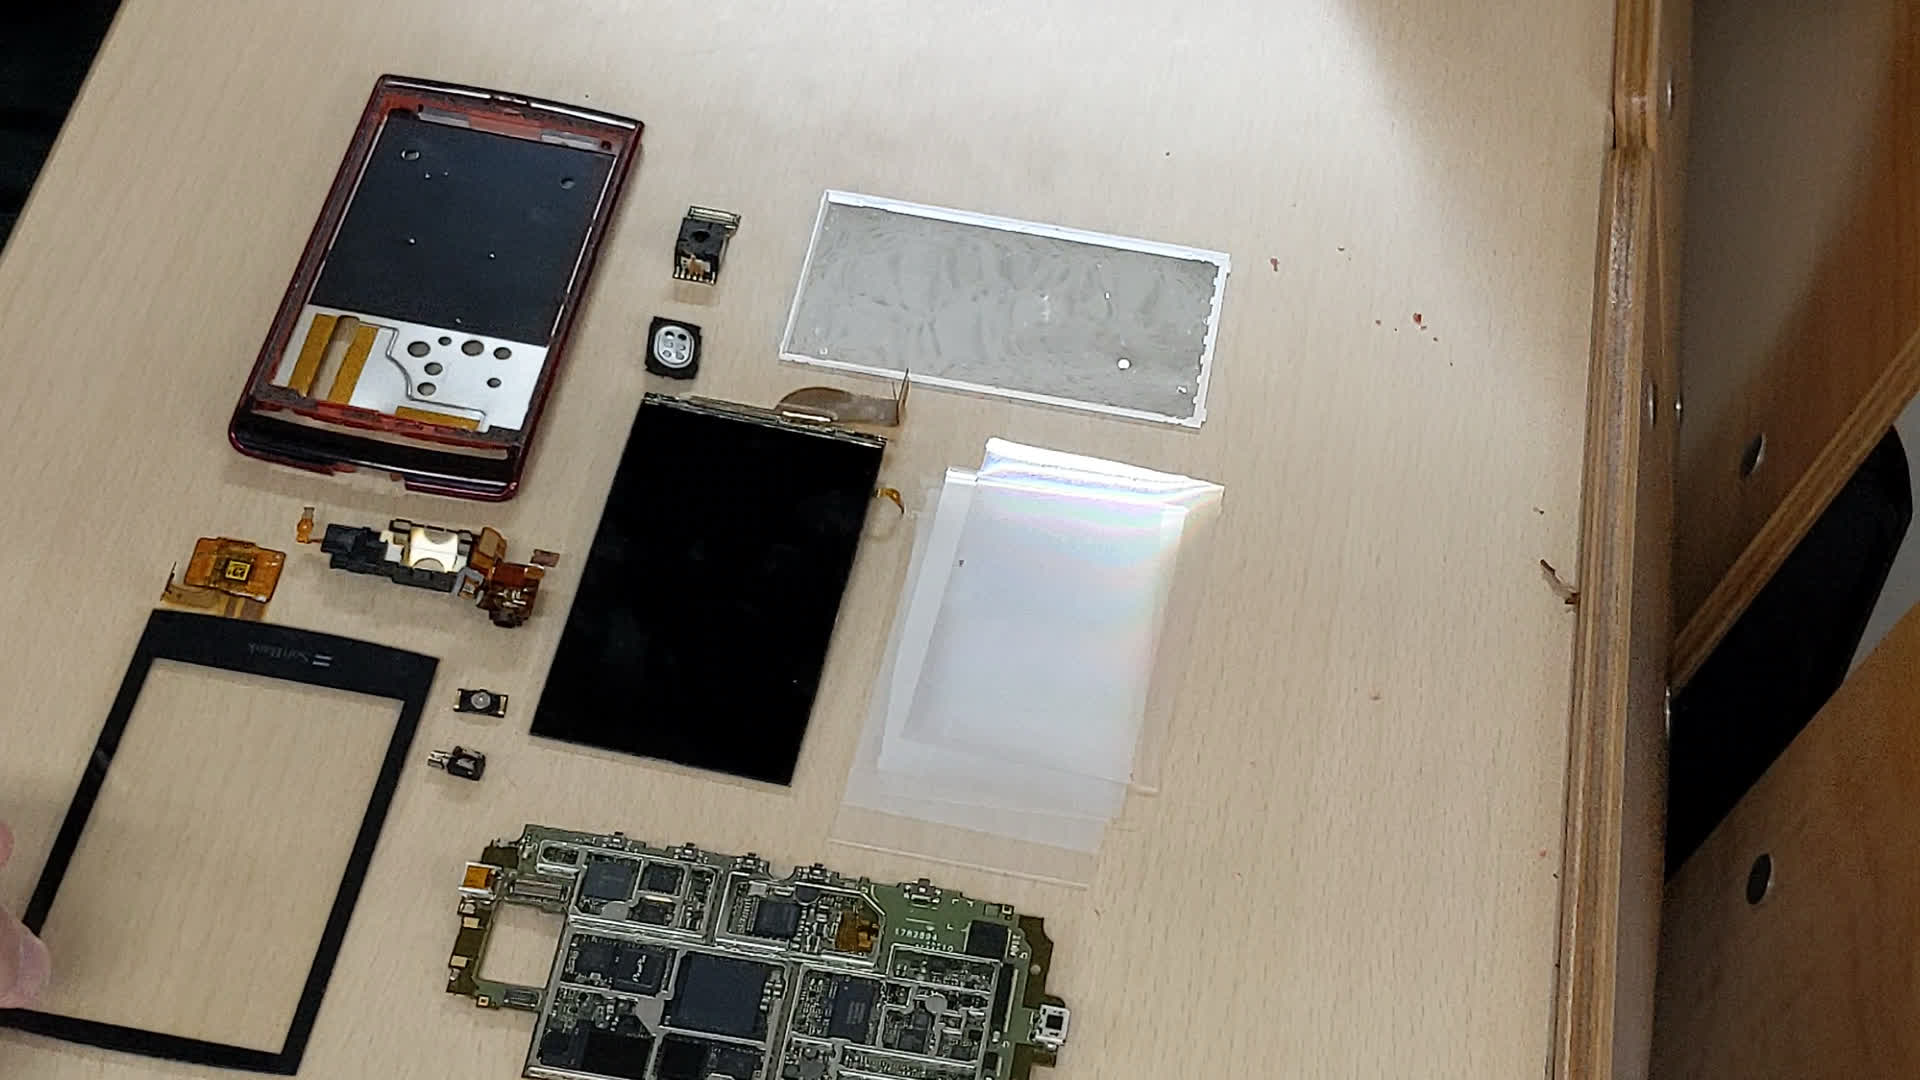
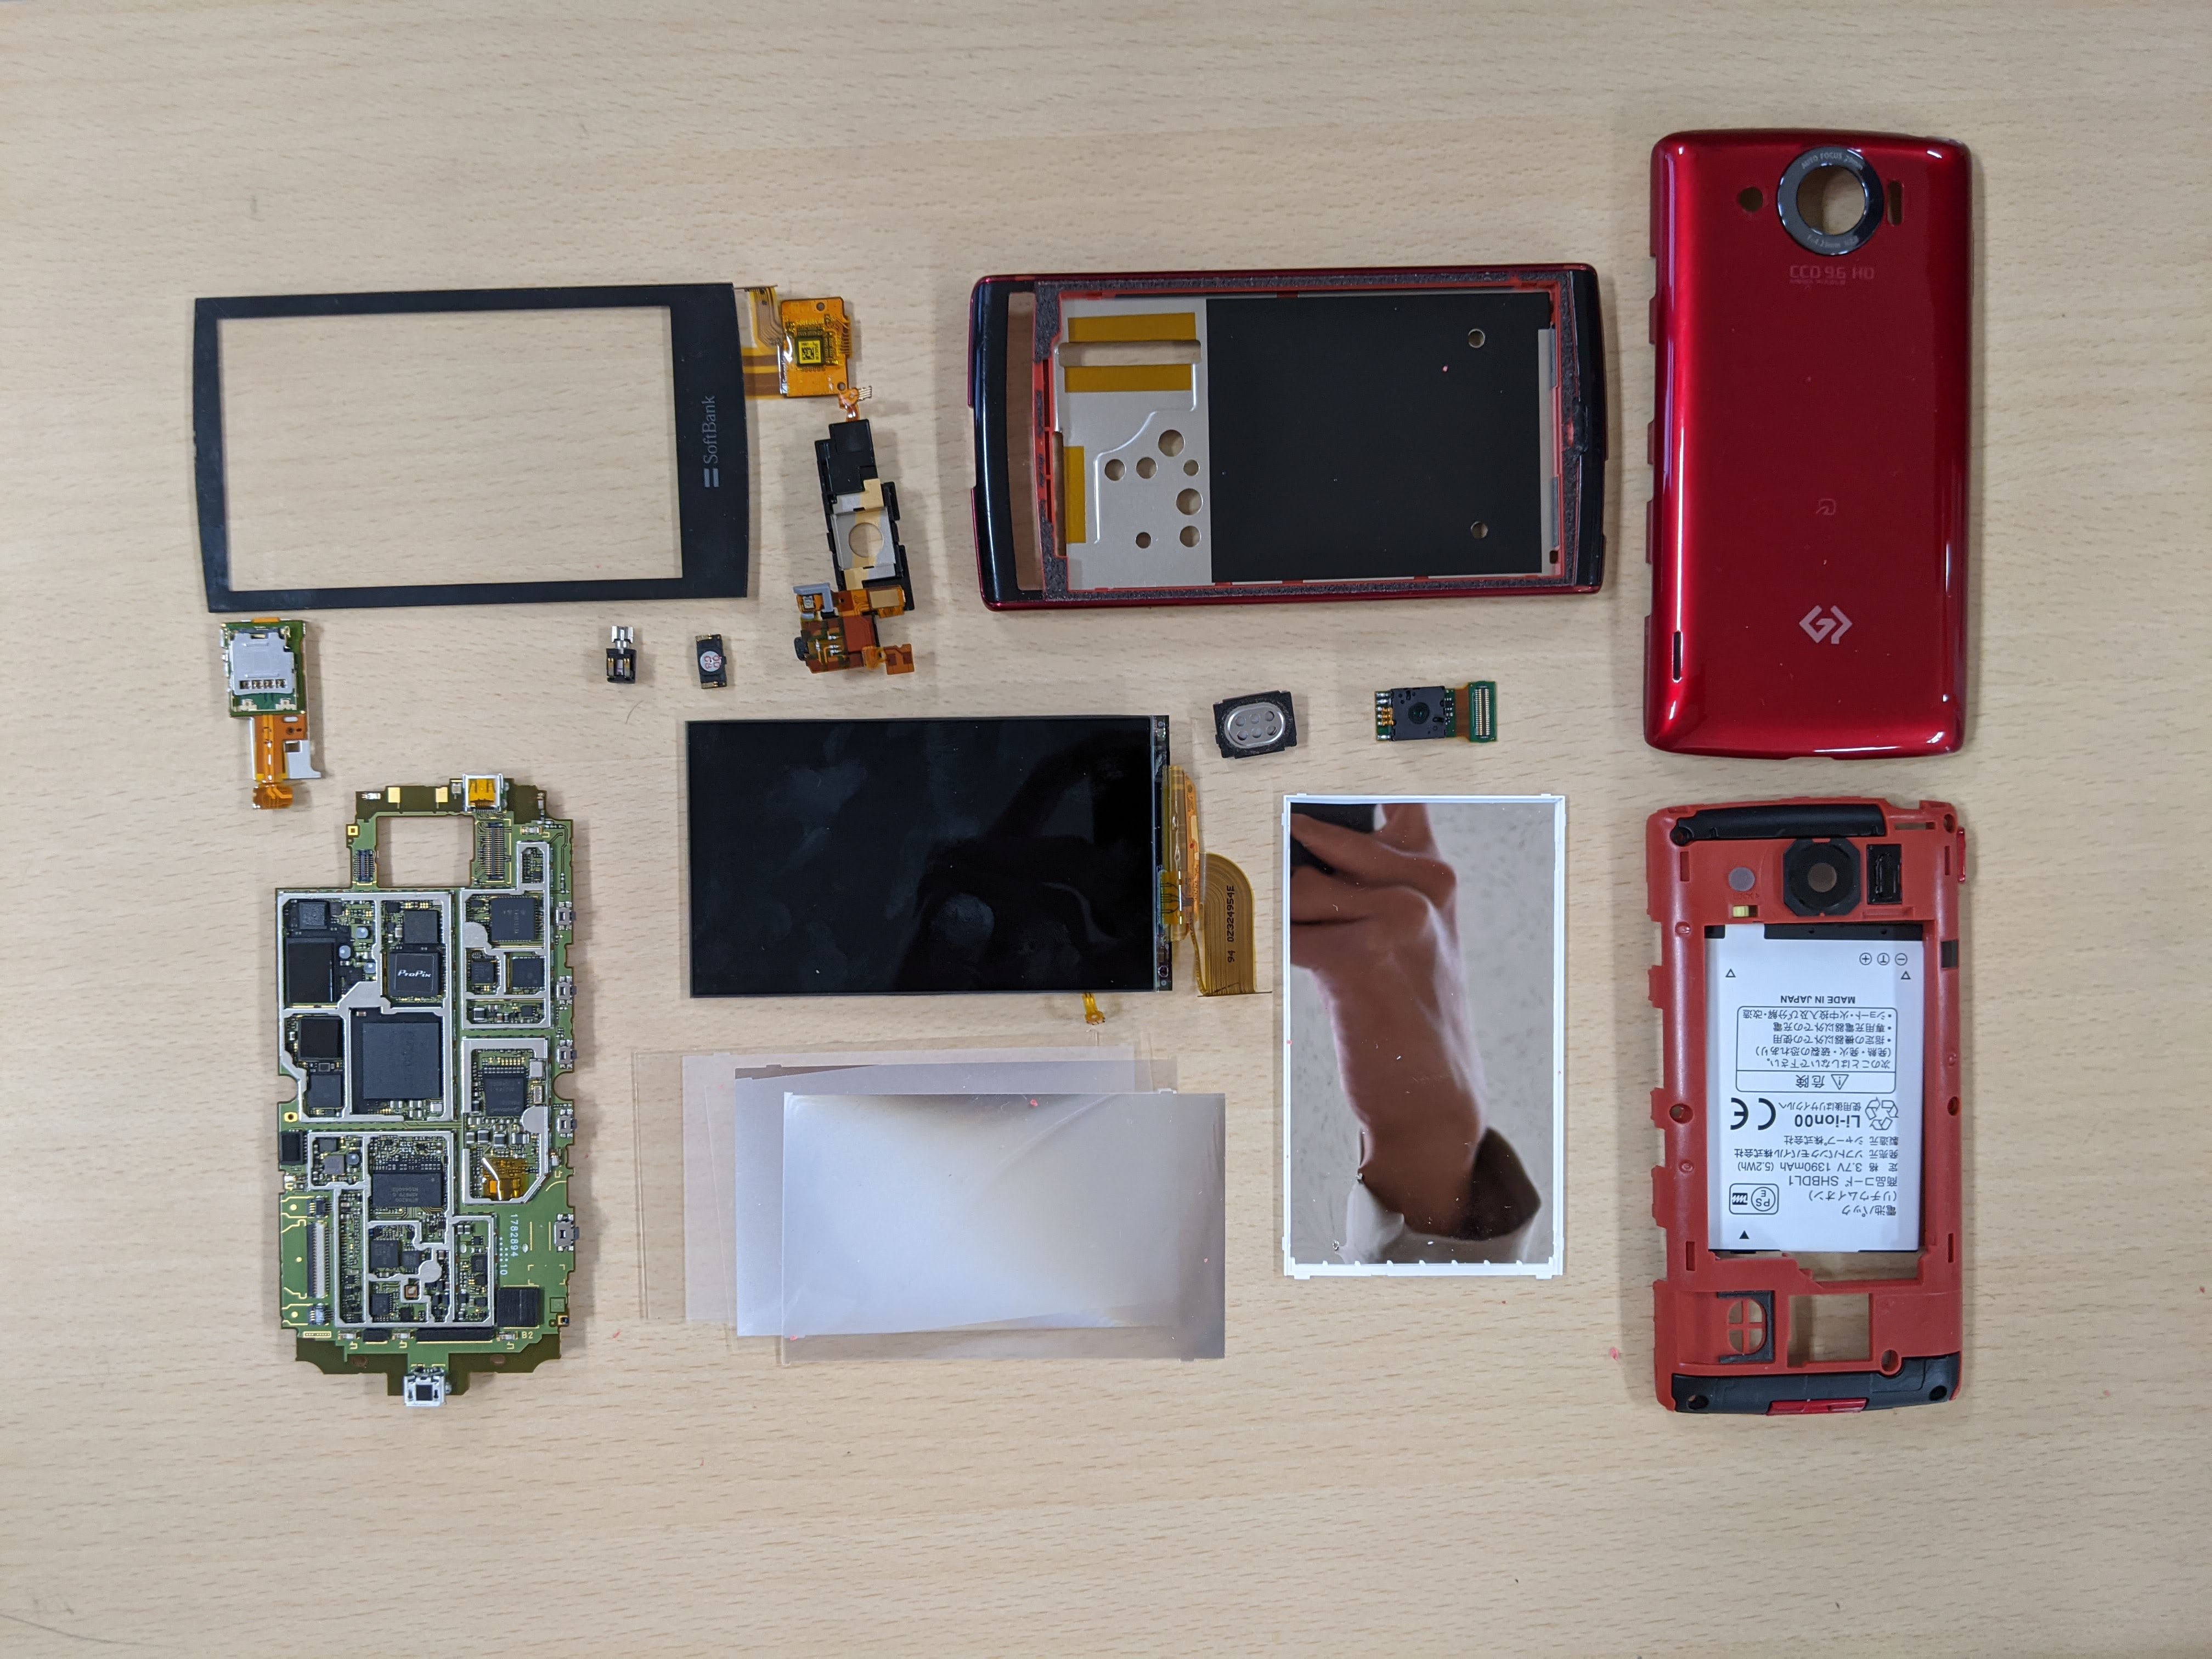
これでスマホの分解は終了です。 最終的に下の写真のような部品に分解することができました。
ガラケー
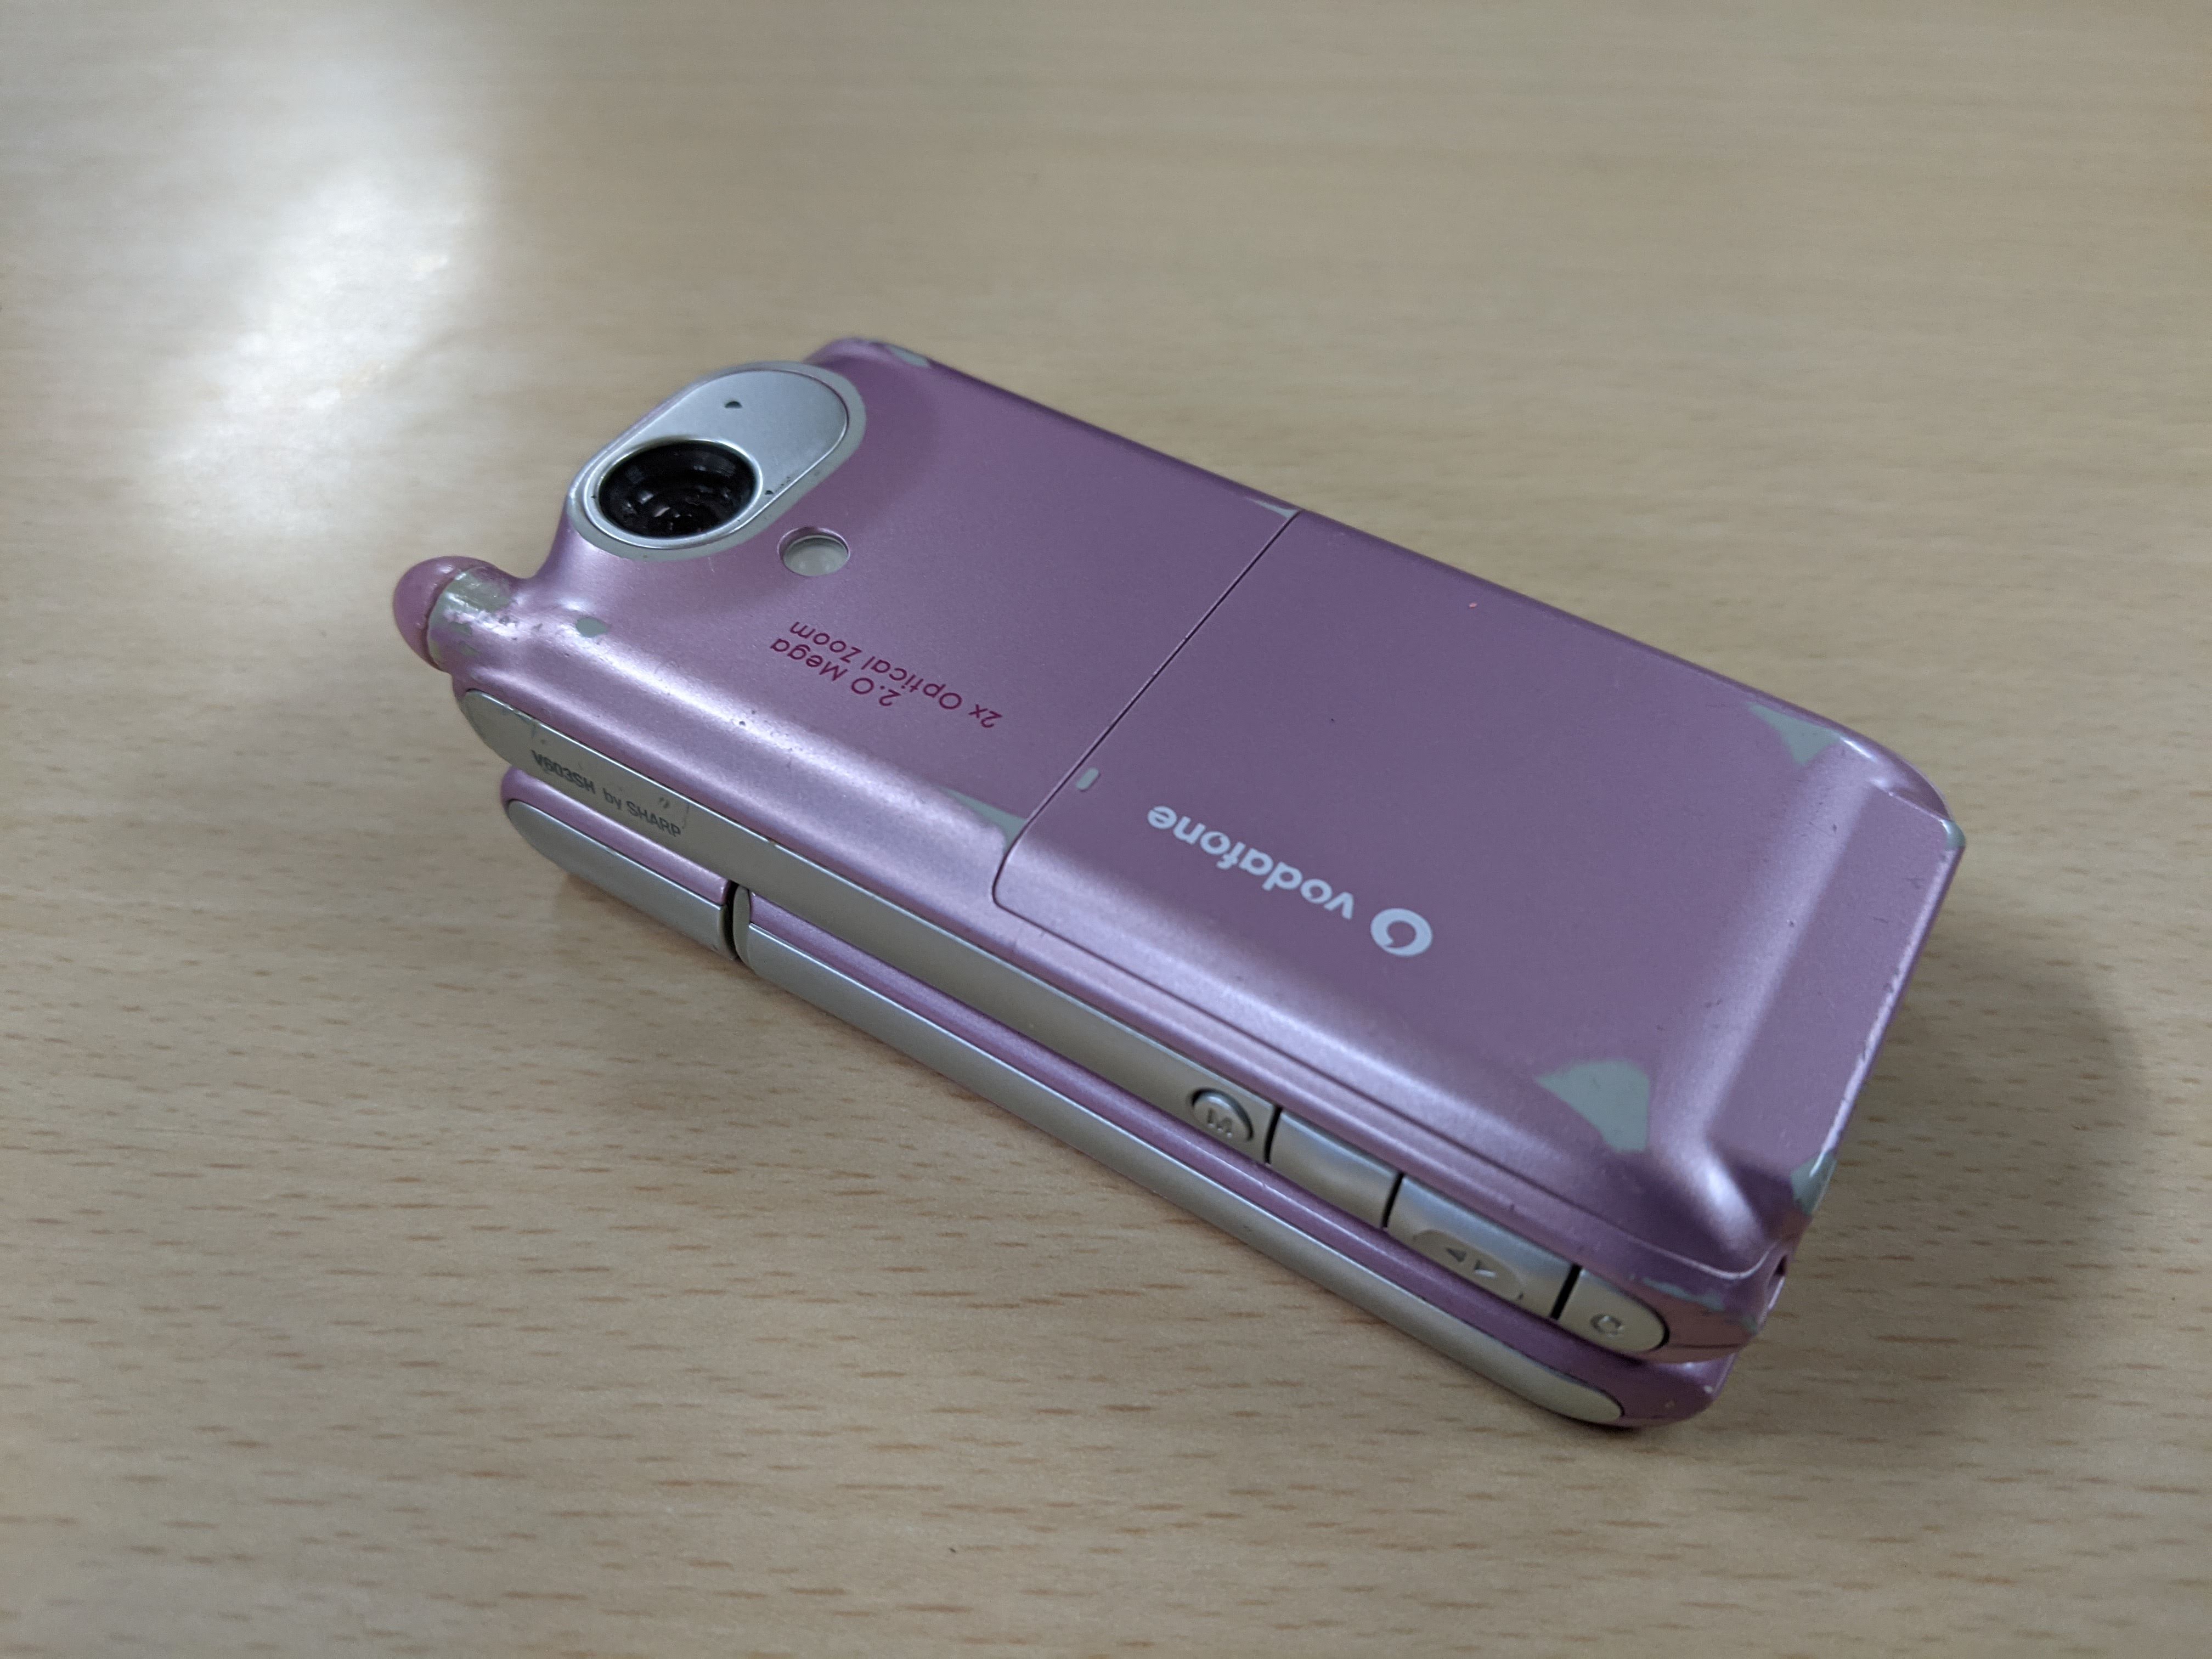
ガラケーの分解もスマホの分解と似ています(どちらも作られた年代が随分昔であるというのもありますが)。 今回分解するガラケーはV603SHといって、株式会社SHARPが2005年に作ったガラケーです。

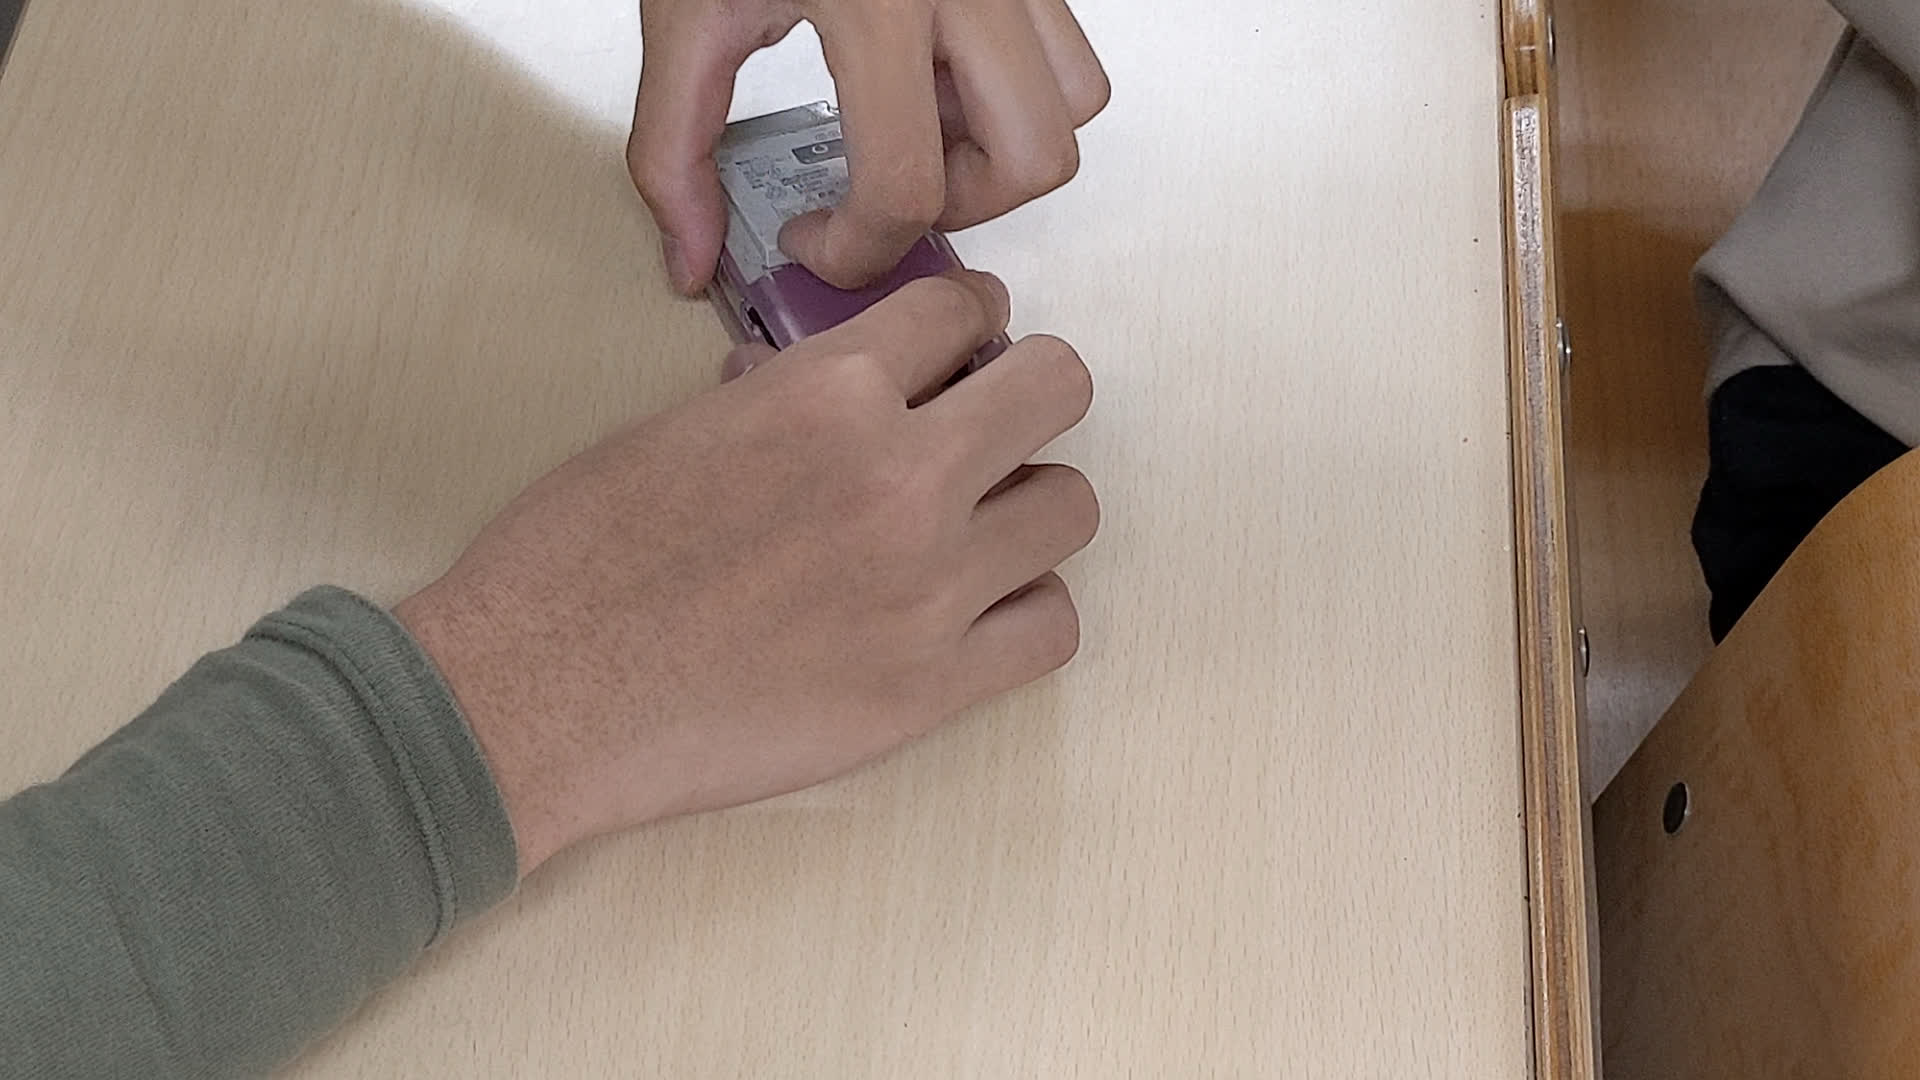
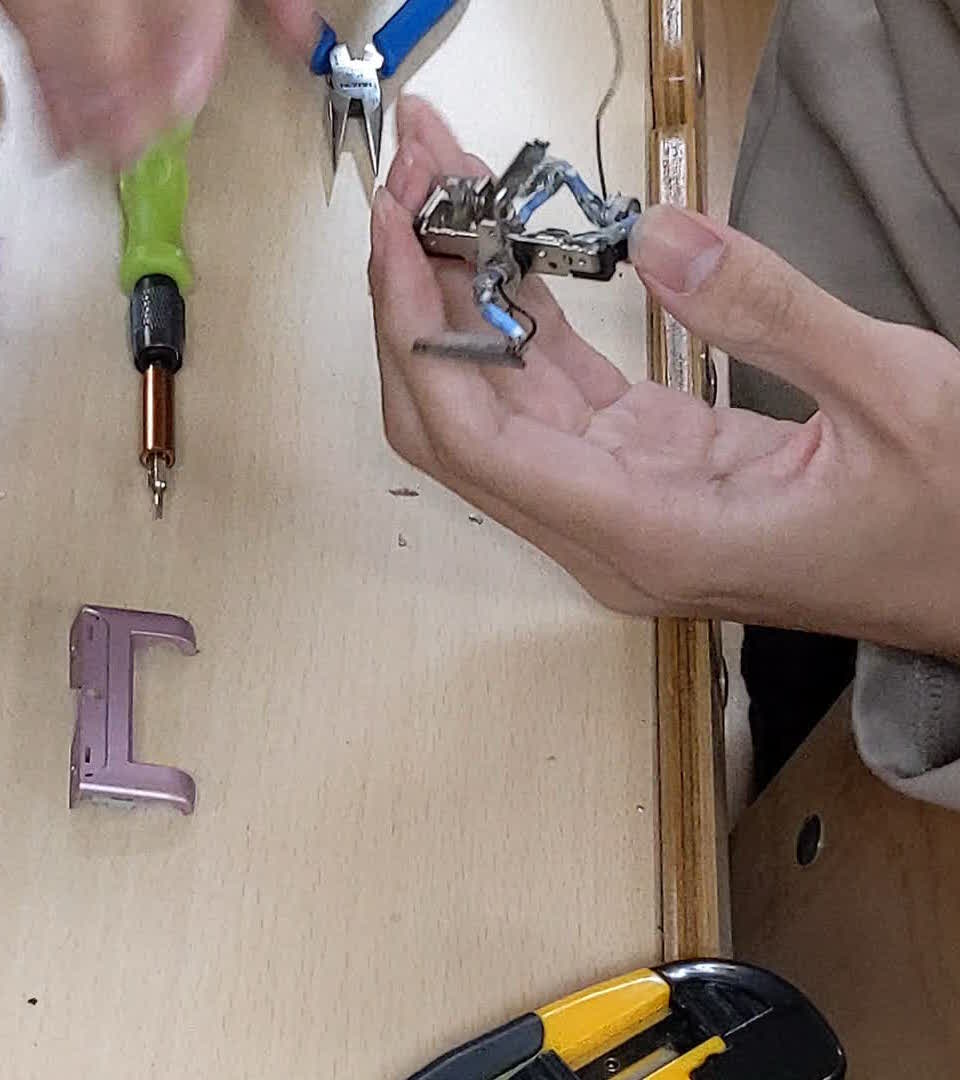
ガラケーはスマホとは違い、多くの隠しネジが使用されています。 隠しネジはシールの裏に隠れているので、見えているネジ以外にも、ネジが隠れていそうなシールを見つけ、剥がさなければいけません。 またガラケーは可動部品としてヒンジが使われているのですが、部品がネジでそのヒンジにつながっていて、外すのが難しい場合があります。 それ以外はスマホの分解と似ているので、所々割愛しようと思います。 まず電池やSIMカードを外しておきます。
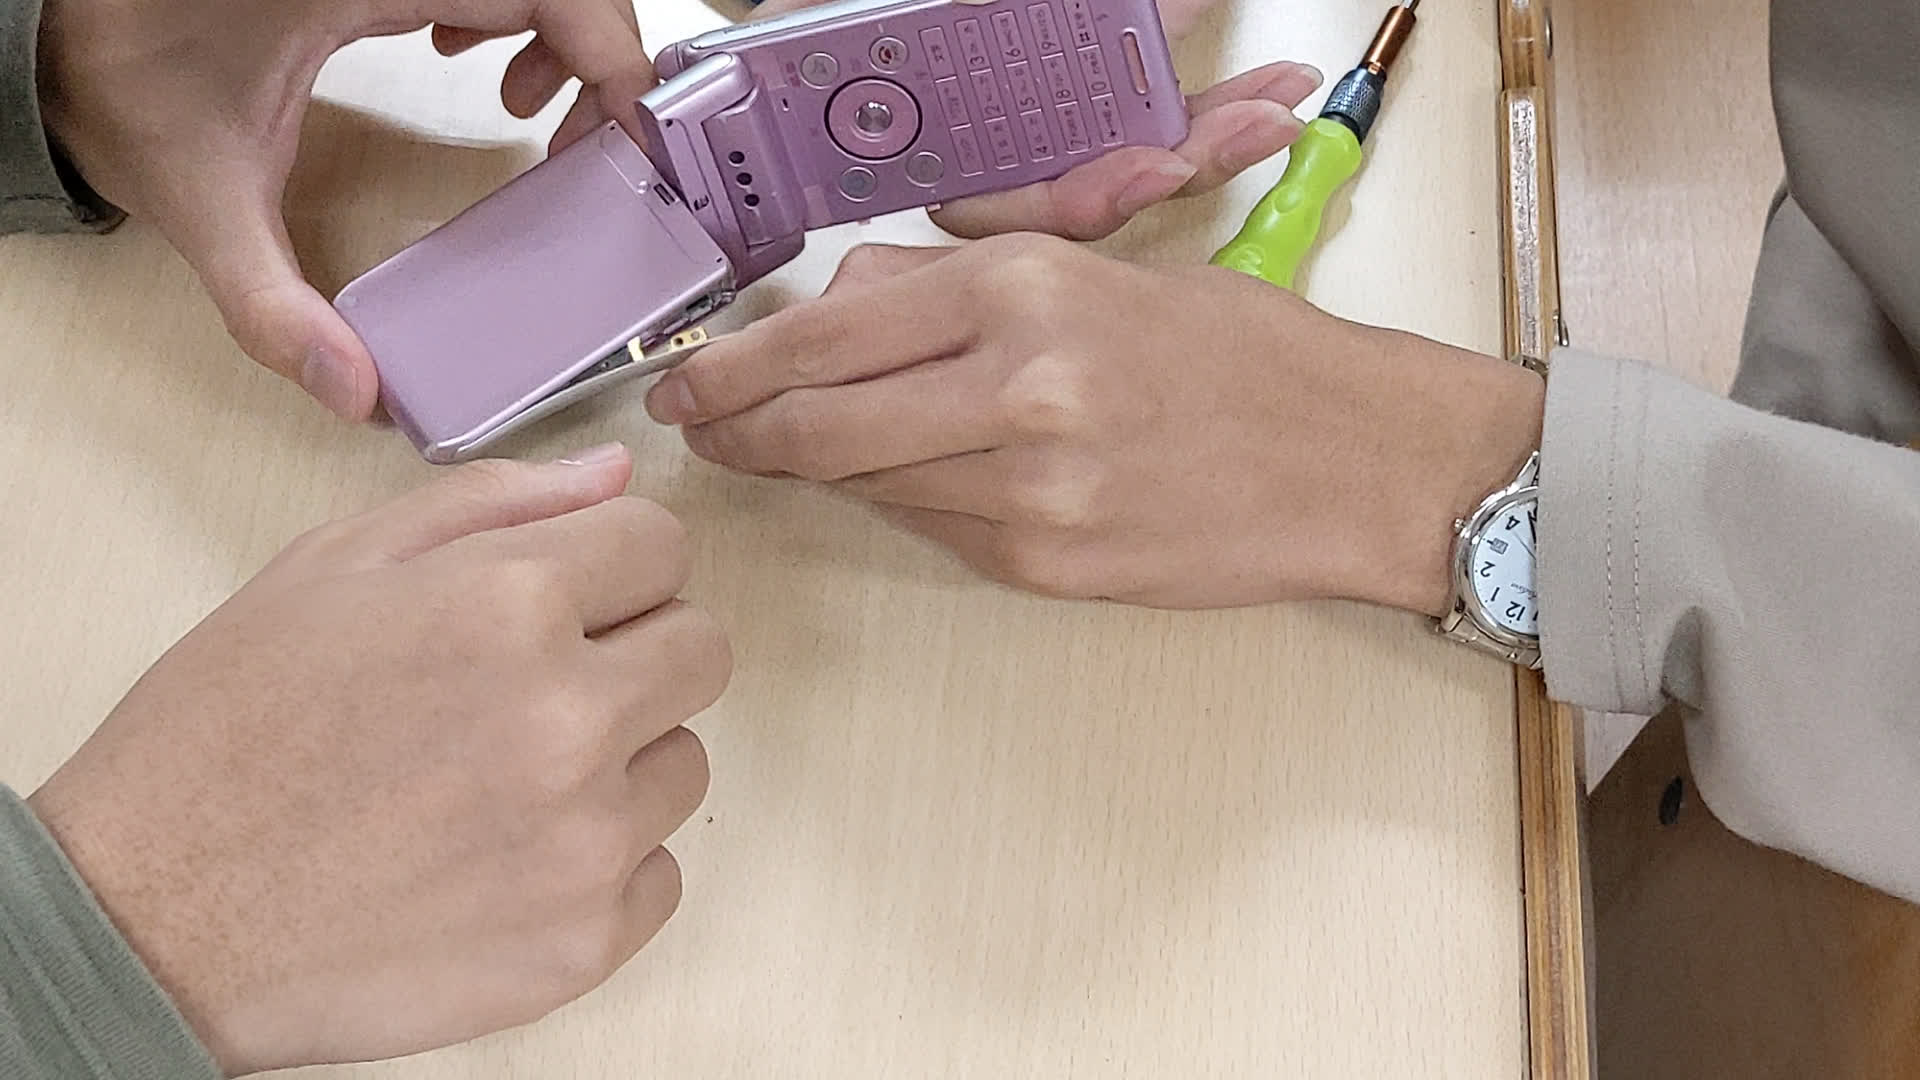
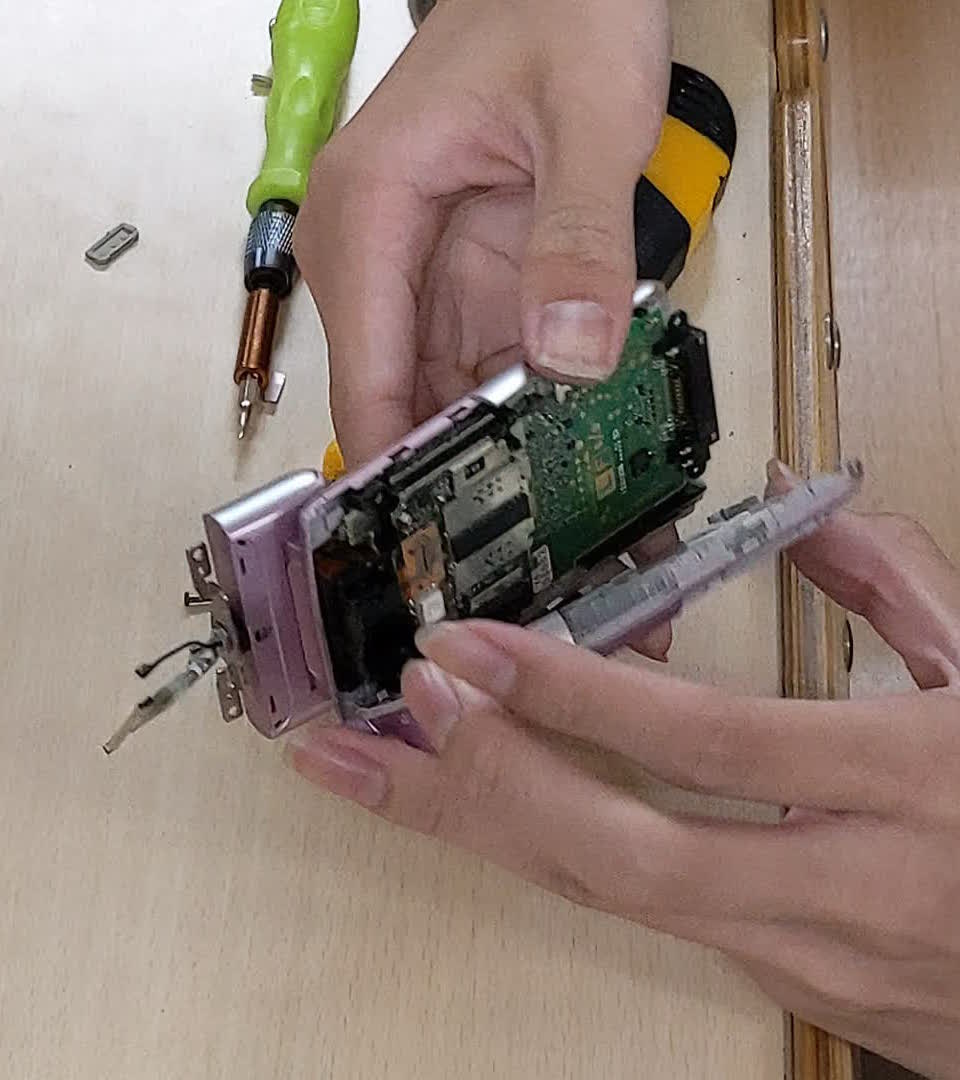
そして次に隠しネジを外さないといけません。 写真の黒い部分がシールになっていて、その下にネジが埋まっています。 カッターなどを差し込むと剥がれてネジが露出するのでドライバーで外していきます。 画面の横にある銀色の部品も外れました。
画面上部にもネジがあったので外すと、画面の本体を外すことができます。 ここで基盤についているネジを外すことで、本体が上半分と下半分の2つに分かれます。 ※この時点で上半分は画面が外されているのでただの基板に見えます。
画面の基板にも多くのフレキシブルケーブルが使われているので、一つ一つ外すと、基盤が取り外せます。 基板の裏には、スマホの時と同じような液晶ユニットがあり、同じようにフィルムや液晶に分解できました。
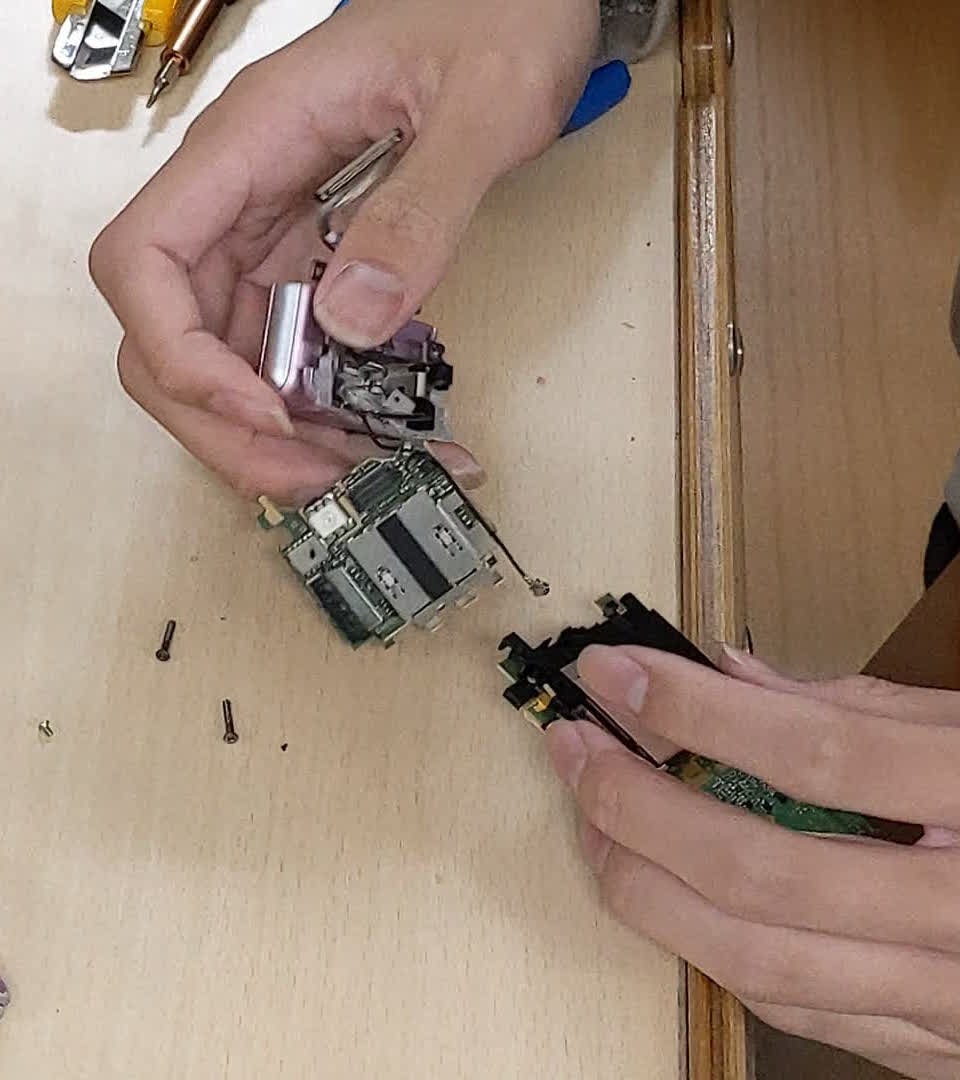
続いて、下半分の分解に移ります。 ネジを外すことで、キーボードの部分が半分に割れます。
ここにも基板があり、基盤とプラスチックの間からキーボードに使われていたゴムのフィルムが取り出せます。 これが沈み込んで基板に電気が通るようにすることでボタンとして動作しているのです。 ガラケーの基板はスマホのものと異なり、横のボタンを実現するために、基板が3次元状に組まれています。 これもフレキシブルケーブルを外していくことで、基盤とヒンジを分離できます。
ここにもやっぱりネジが隠されているので、それを外してプラスチック部分を取り外します。 これで金属の塊のようなヒンジを取り外すことができます。
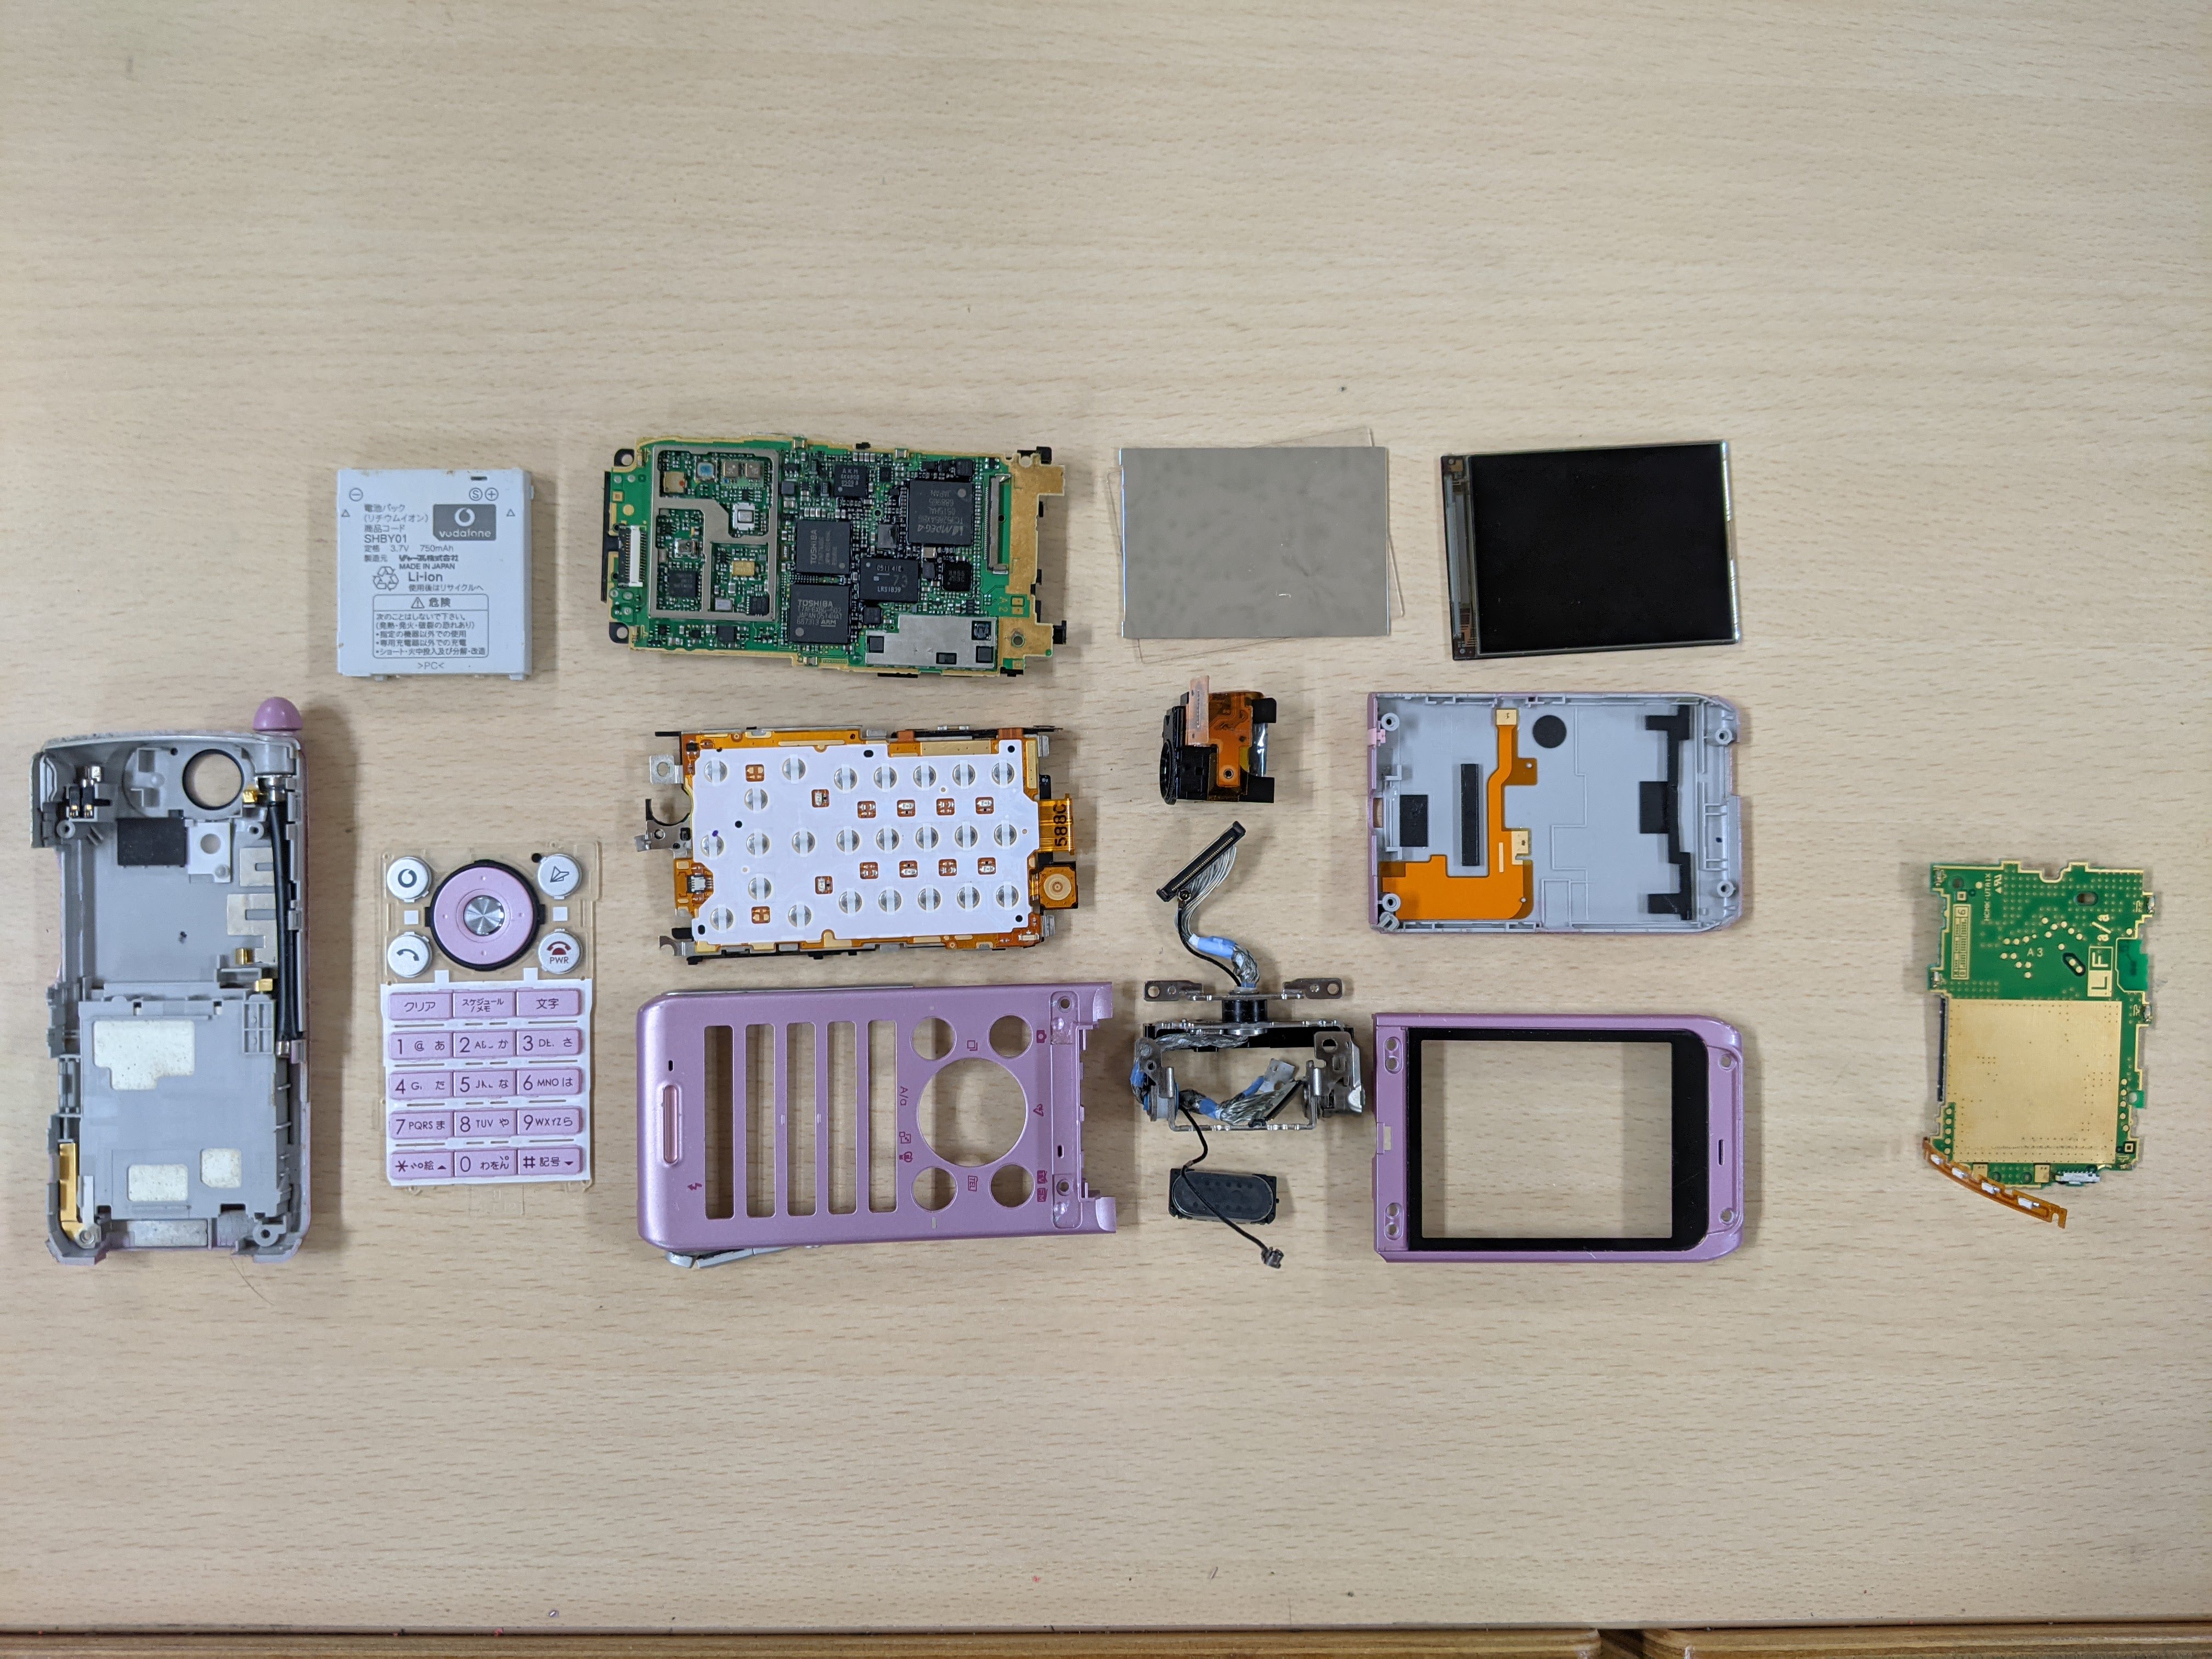
これでガラケーの分解が終了です。 最終的に下の写真のような部品が取り出せました。
動画
スマートフォン解体の動画です。 文章読むのがめんどくさい!という方におススメです。
解体を通して感じたこと
いつも使っているスマートフォンは(個人的な見解ですが)ただのガラス板のようにしか見えないので、中には基板くらいしかないかなと思っていました。
しかし実際に中を開けてみたら、基板以外にも金属部品やフレキシブルケーブルなど、想像していたよりもさまざまな種類の部品が使われていて驚きました。
また、携帯を解体するのに特殊な五角形のドライバーが必要であったり、慣れていなかったということもあったと思いますが、解体し終えるのに2時間以上かかったりしたことから、簡単に分解できないようになっていることを実感したうえに、
この分解のしにくくさから機械解体が難しくなってしまい、コスト問題につながっているのかとも思い知らされました。
それでも普段はできない活動ができて楽しかったです。
なお、ここで分解した廃電子機器は資料としてコンテストが終わるまで持っておき、コンテスト終了後に組み立てなおし回収ボックスにチームで出しに行く予定です。