🖋Takahisa
1/3/2023

Talk about auto-coding everything after all!
In a previous blog, I mentioned that this blog page is automatically coded by Google Sheets.
↑upClick here to see the article at that time.
Actually, it is not only the blog page that is automatically coded! After I first created that system with Google Sheets, I realized how easy it was, and ended up creating and using automatic coding systems myself in various places.
In this article, I will briefly introduce those automated coding systems.
Gallery
A gallery of all the photos used on this web page. Each photo is labeled with its source, citation, and location, and by clicking on it, you can jump to the page related to that photo.
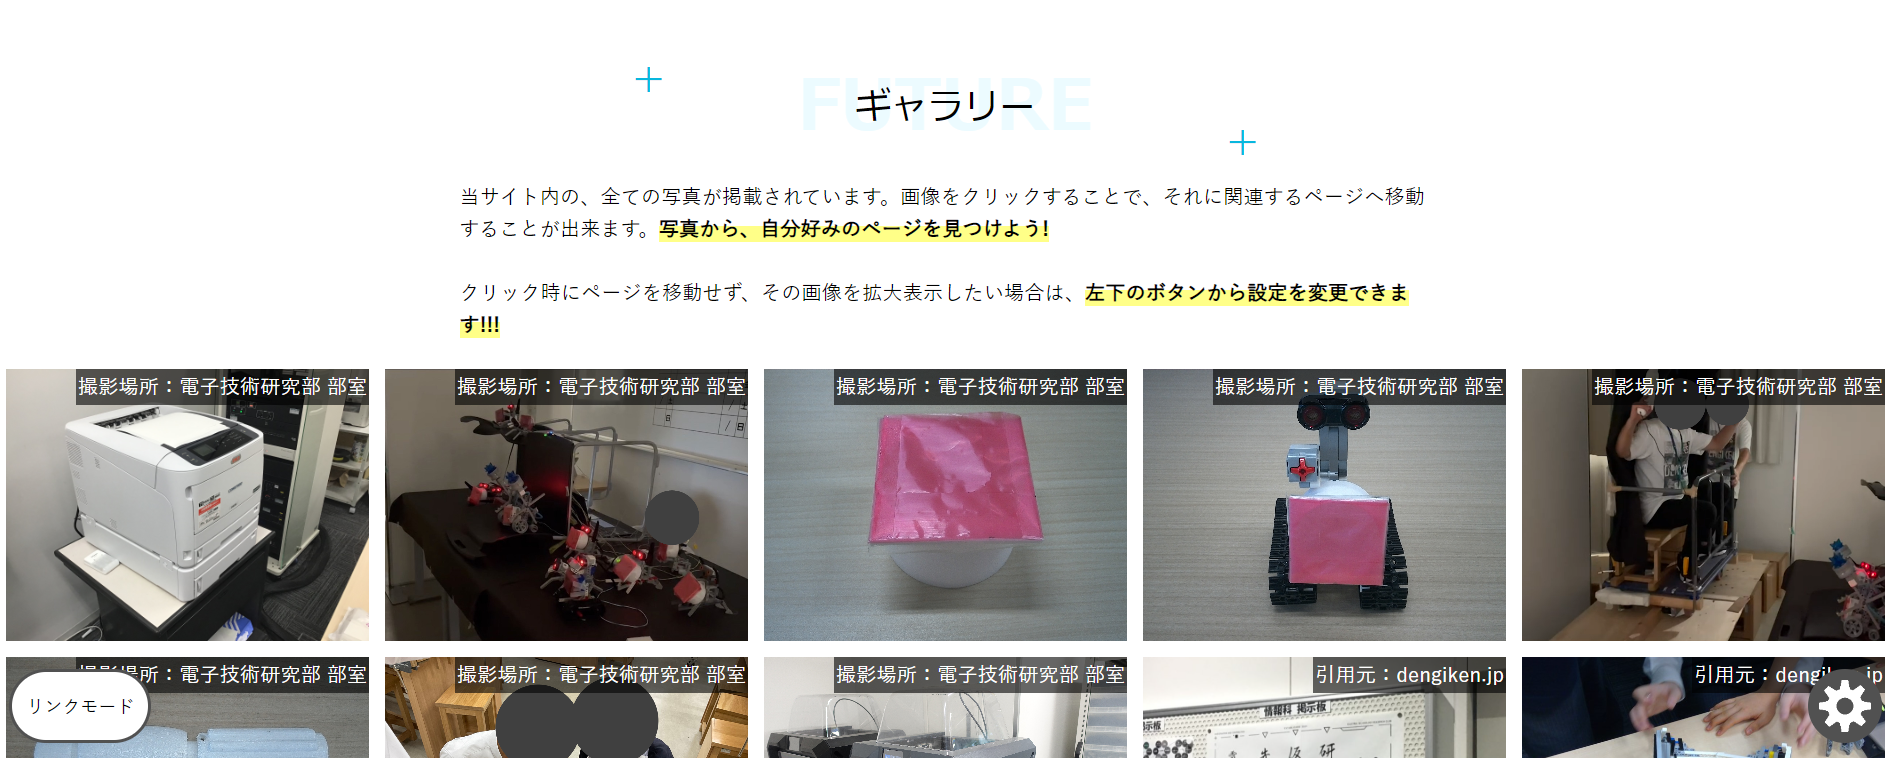
↑upActual gallery page
Click here for the gallery pageHowever, it is extremely difficult to add a source or link to each of such a large number of photos, and even if it were possible, there is no way that it would be error-free. So I created an automatic coding system in Google Sheets, just as I did for the blog page, to greatly reduce the time required.
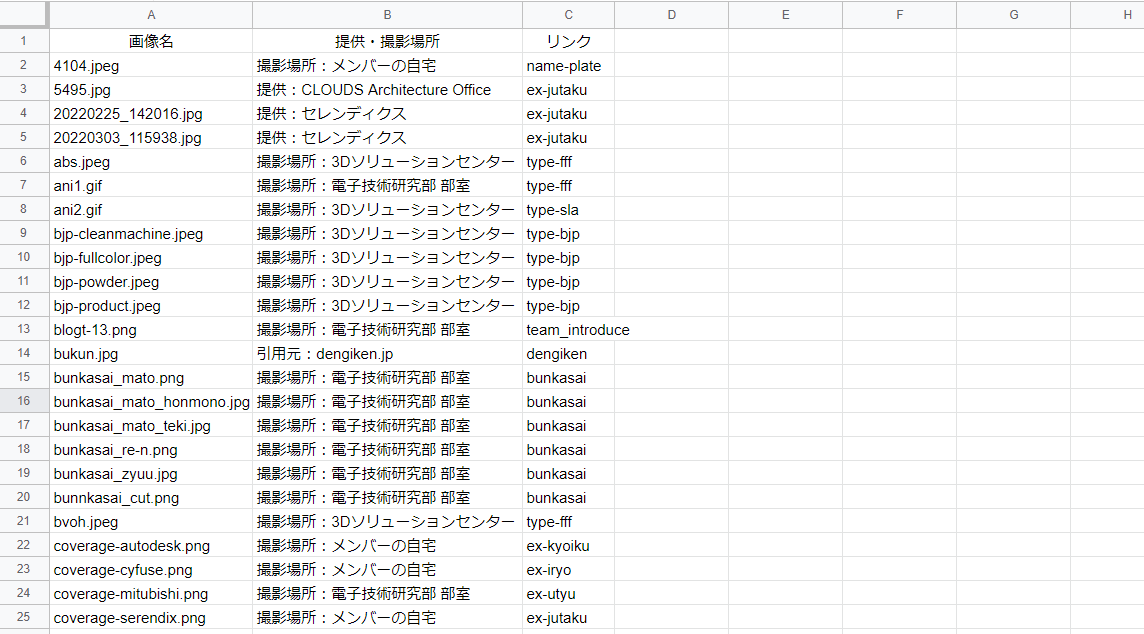
Here is the "input sheet" portion of the actual system.
The input sheet has fields for entering the image name, the location where the image was provided or taken, and a link (to a related page). The auto-fill feature saves a lot of time, even if you are just entering text.
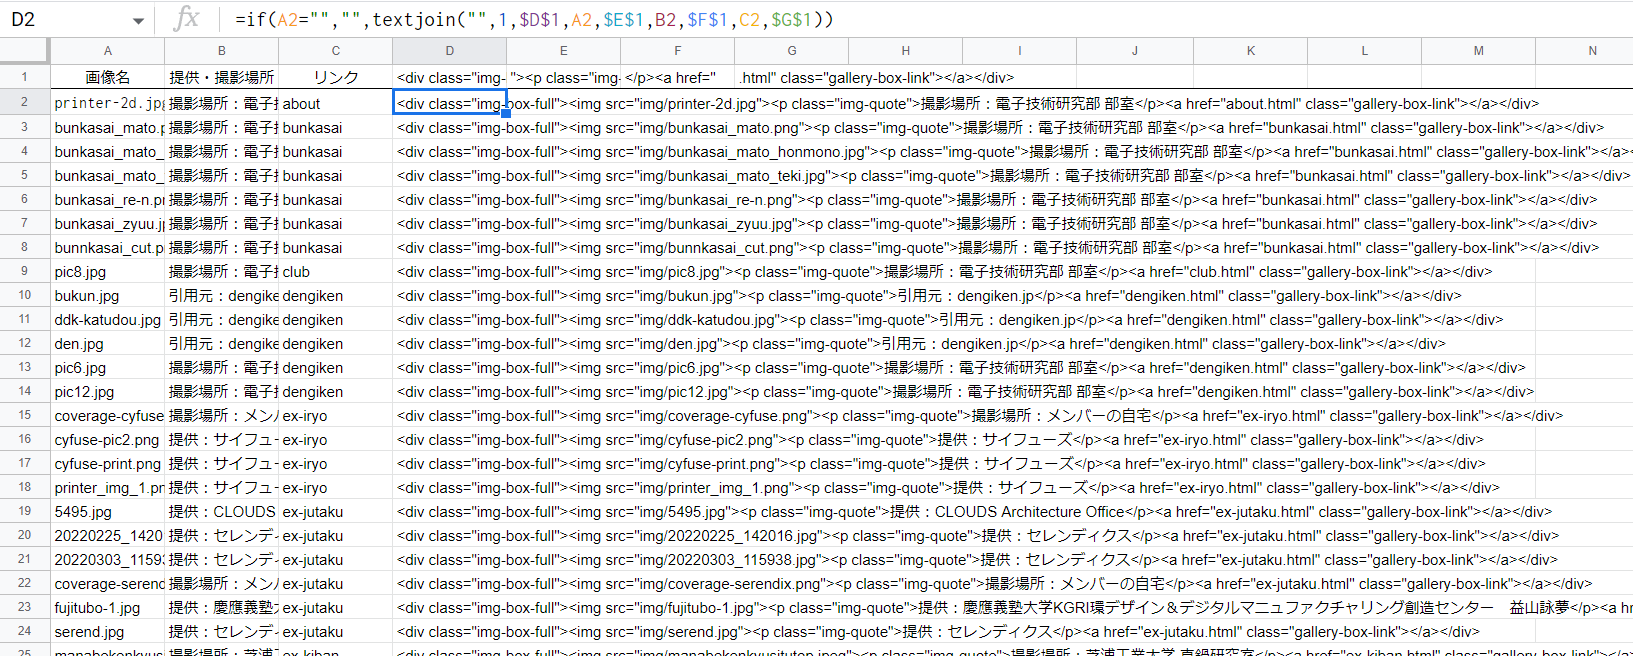
This is the "processing sheet" portion of the actual system.
Between the information you have just entered on the input sheet, you will place the HTML code necessary to create the website, as you have previously set up. File extensions such as .html, img/, etc. and file locations are automatically added here, so there is no need to add them on the input sheet.

And finally, here is the "output sheet.
Copy and paste it into the HTML code. Just like that, the gallery page is complete. How convenient!
2. References
The references page also uses an automatic coding system.
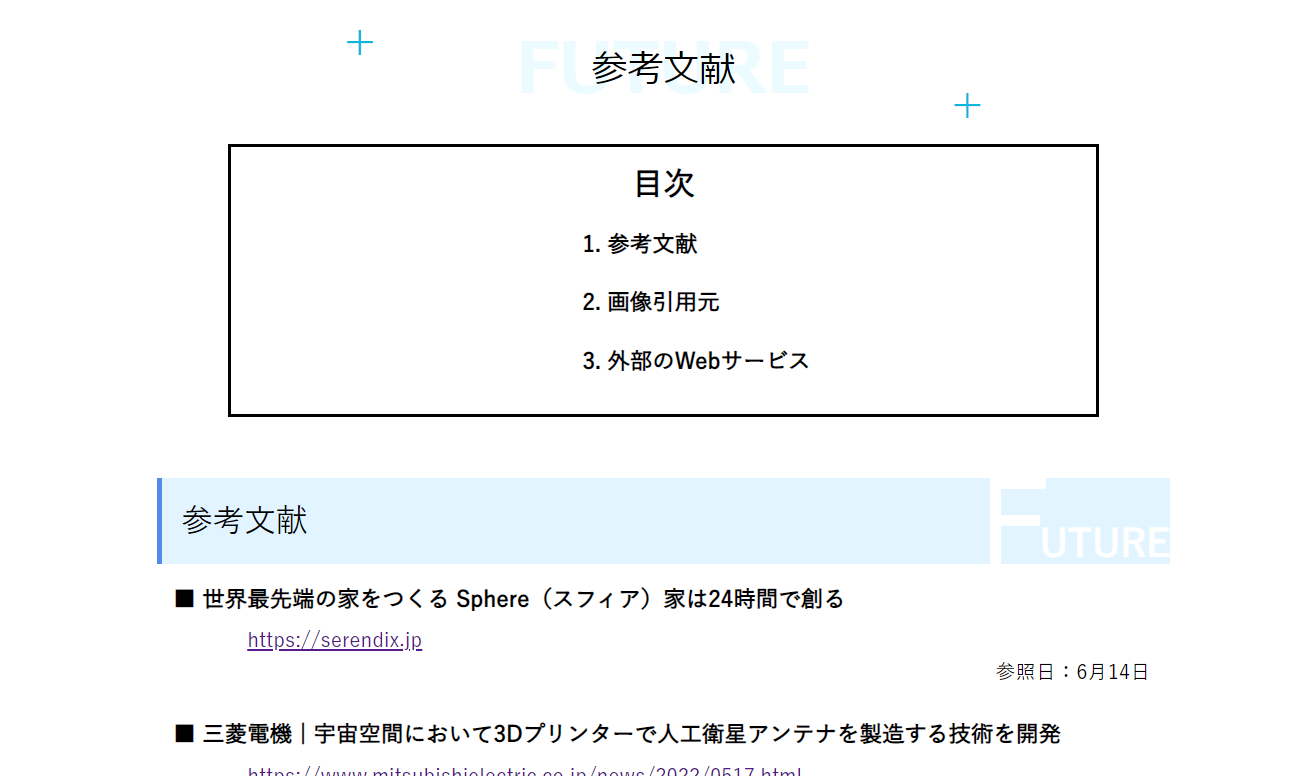
↑upActual References page
Click here for the references pageHowever, this is more of a data processing aid than an automatic coding system, as there are many conditional branches and various complicated operations to be done in Google Sheets, so we have Google Sheets do the simple processing and the rest is done manually.
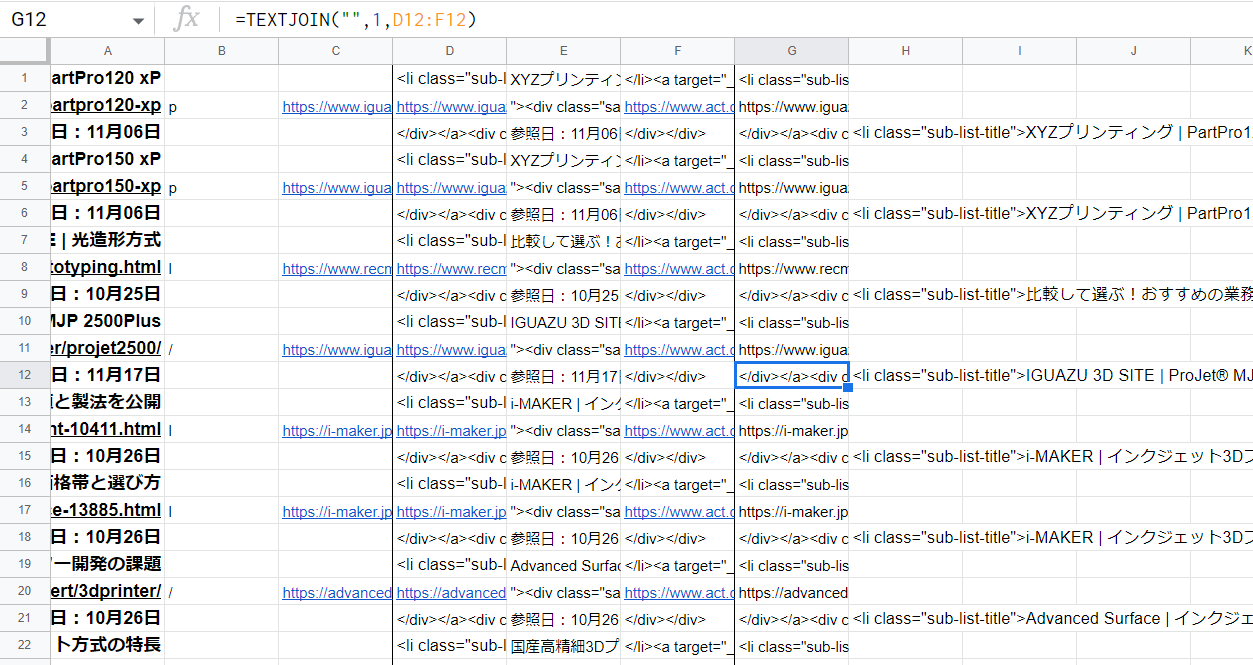
↑Reference system
3. Glossary
The glossary page also uses an automatic coding system. This is not as fully automated as the reference system, but it is about the same.
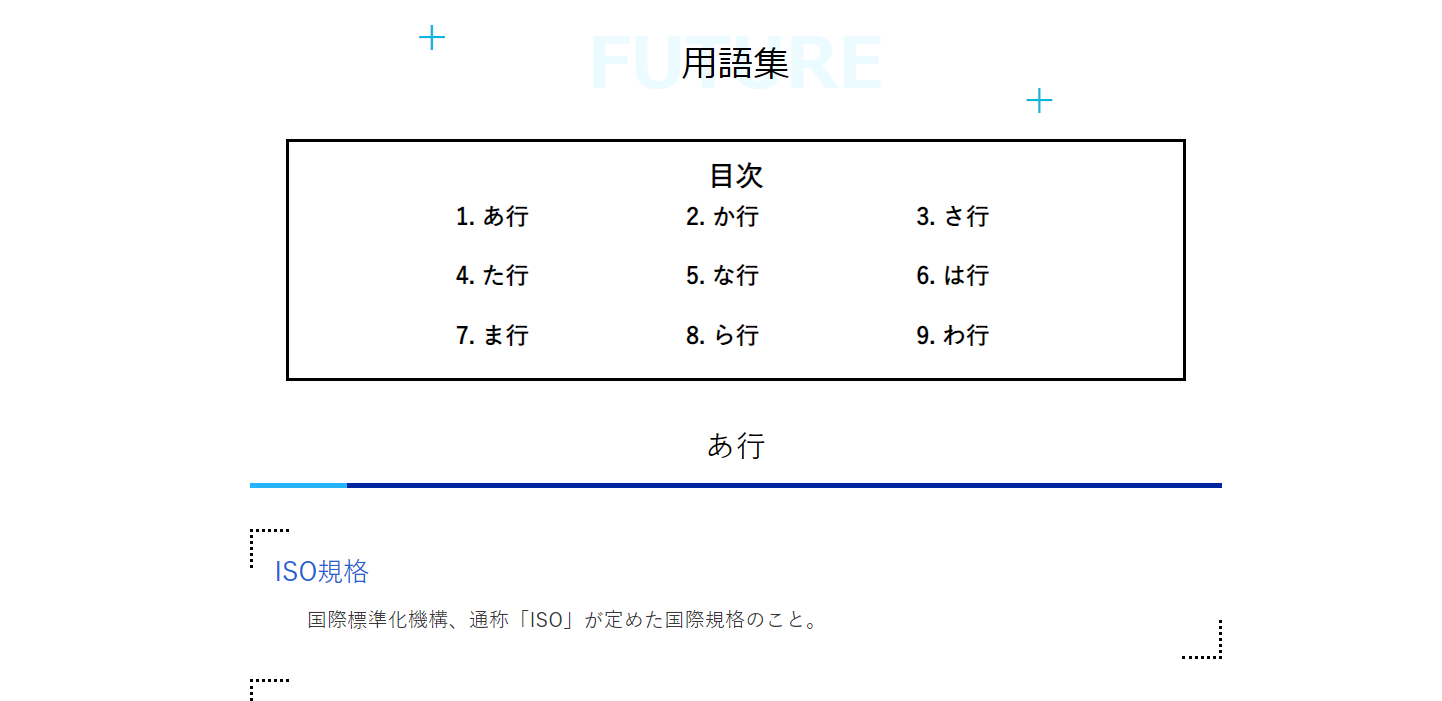
↑Actual glossary page
Click here for the glossary page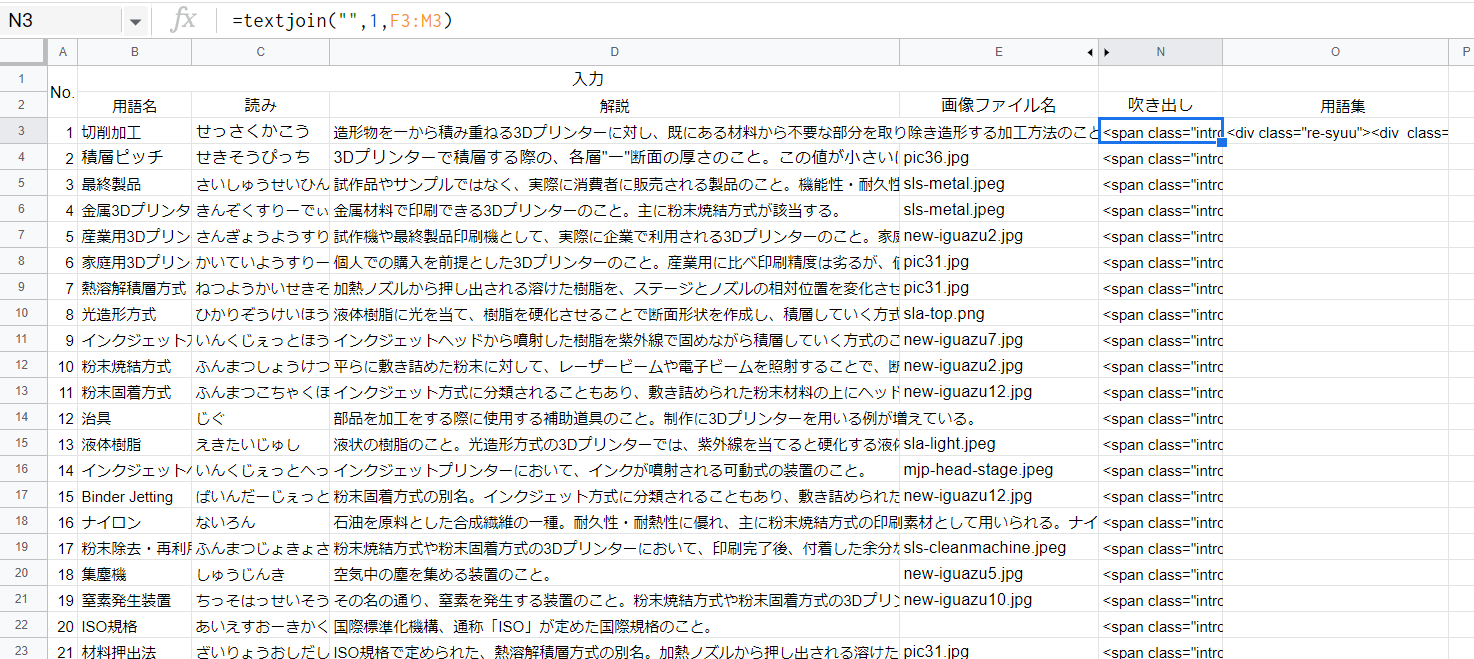
Here is the "input sheet" for the actual system.
Specify the term name, reading, description, and image file name. Some of you may wonder why it is necessary to input "reading" and "image file" aside from the term name and description.
The "reading" must be entered in order to display the words entered in the sheet in the aieo order on the glossary page. Many of the readings are not known in kanji and are difficult to process...
And as for "images," we actually do not use them in the glossary pages. We use it in what we call the "glossary feature." Yes, it is that function where you can see the explanation of the term by applying mars cursor to the blue term.
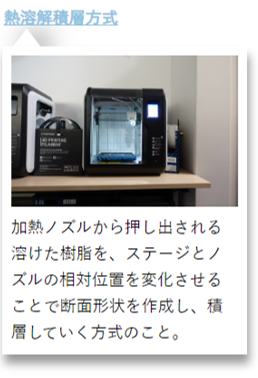
↑upActual glossary function
This function is completely linked to this glossary, so it is processed within Google Sheets as well. And although there are no explanatory images in the glossary, the glossary balloons are used frequently, so it is necessary to input them. In other words, Google Sheets is automatically coding both the glossary page and the glossary callout at the same time.
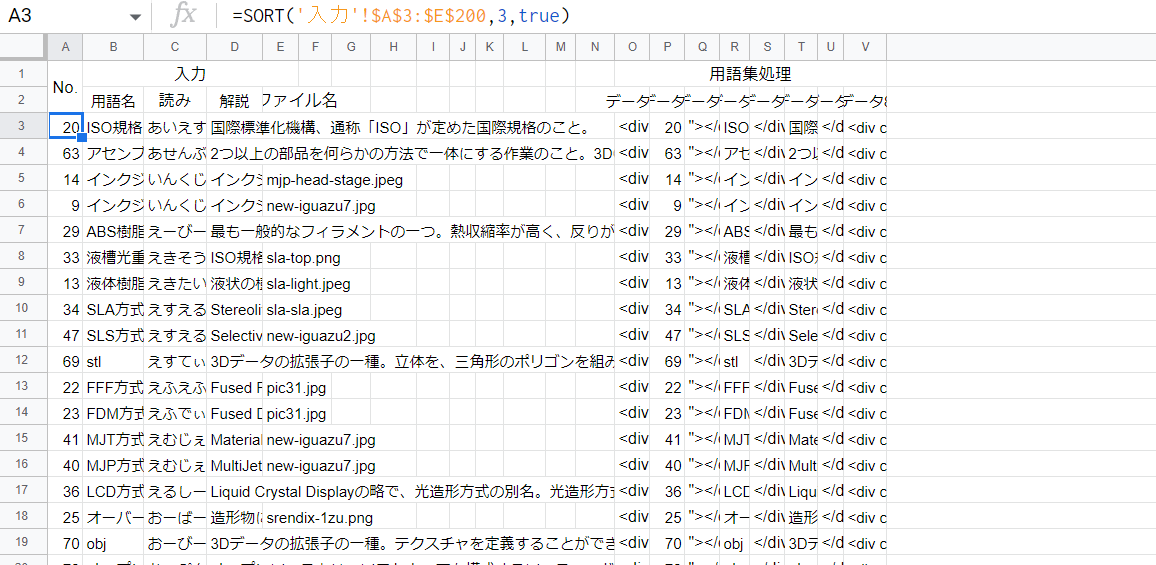
Here is the actual "Process 1 sheet" of the system.
I don't even know why I put "1" after processing when there is only one... Now that I think about it, it is a mystery... Here, I sorted the data into the aiueo order I explained earlier, and then added the HTML necessary to display it on the website, just like the others. Some of you may be thinking, "There is no output sheet," but somehow it is in the "input sheet. Why did they do that?
So, back to the "Input Sheet". Just to the right of the image file name column is the output for the glossary function. Just copy this and paste it over the term and overwrite it. And the one right next to it is for the glossary page. This one requires a bit of additional manual processing, but it doesn't take much time. It's like this.
Quiz page
And finally, the quiz page. This is no longer automatic coding, but automatic programming. JavaScript for the quiz page is created fully automatically.
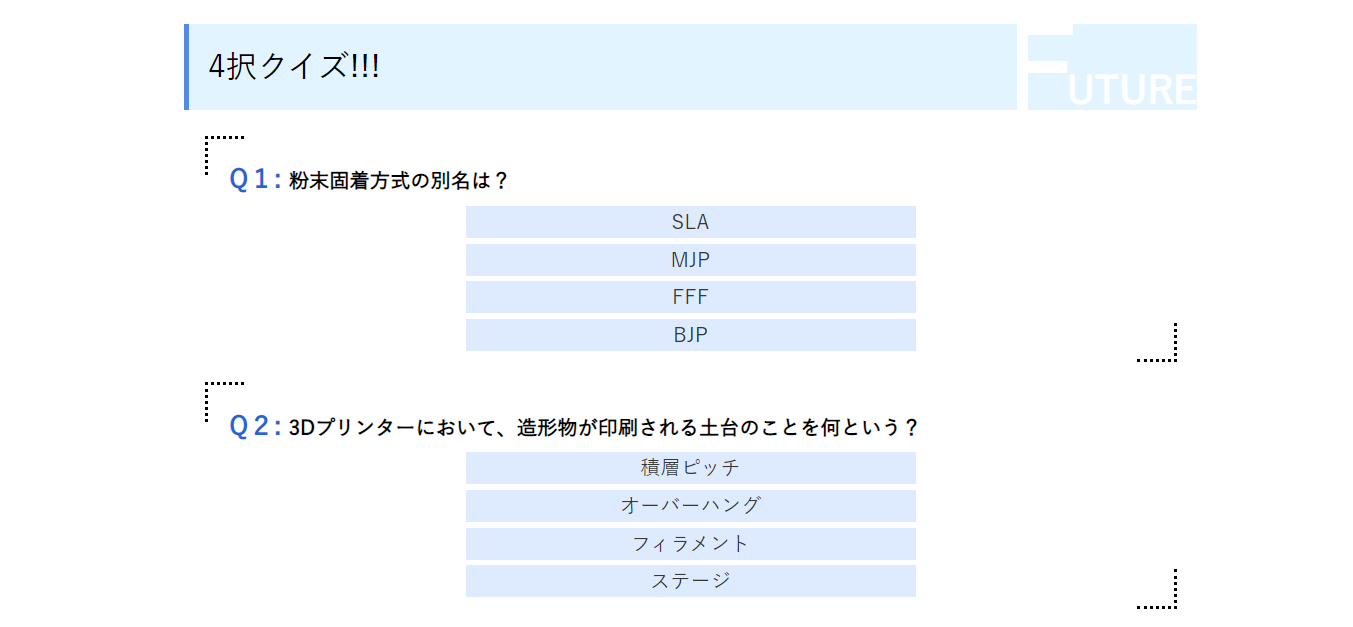
↑upActual quiz page
Here is the quiz page
This is the actual "input sheet" of the system.
It looks like you enter the quiz question text, answer, and incorrect answer choices. You can also enter the explanations and related pages for the answer explanations. The answers and incorrect answer choices are automatically reordered when they are actually displayed on the quiz page, but I will talk about that later.
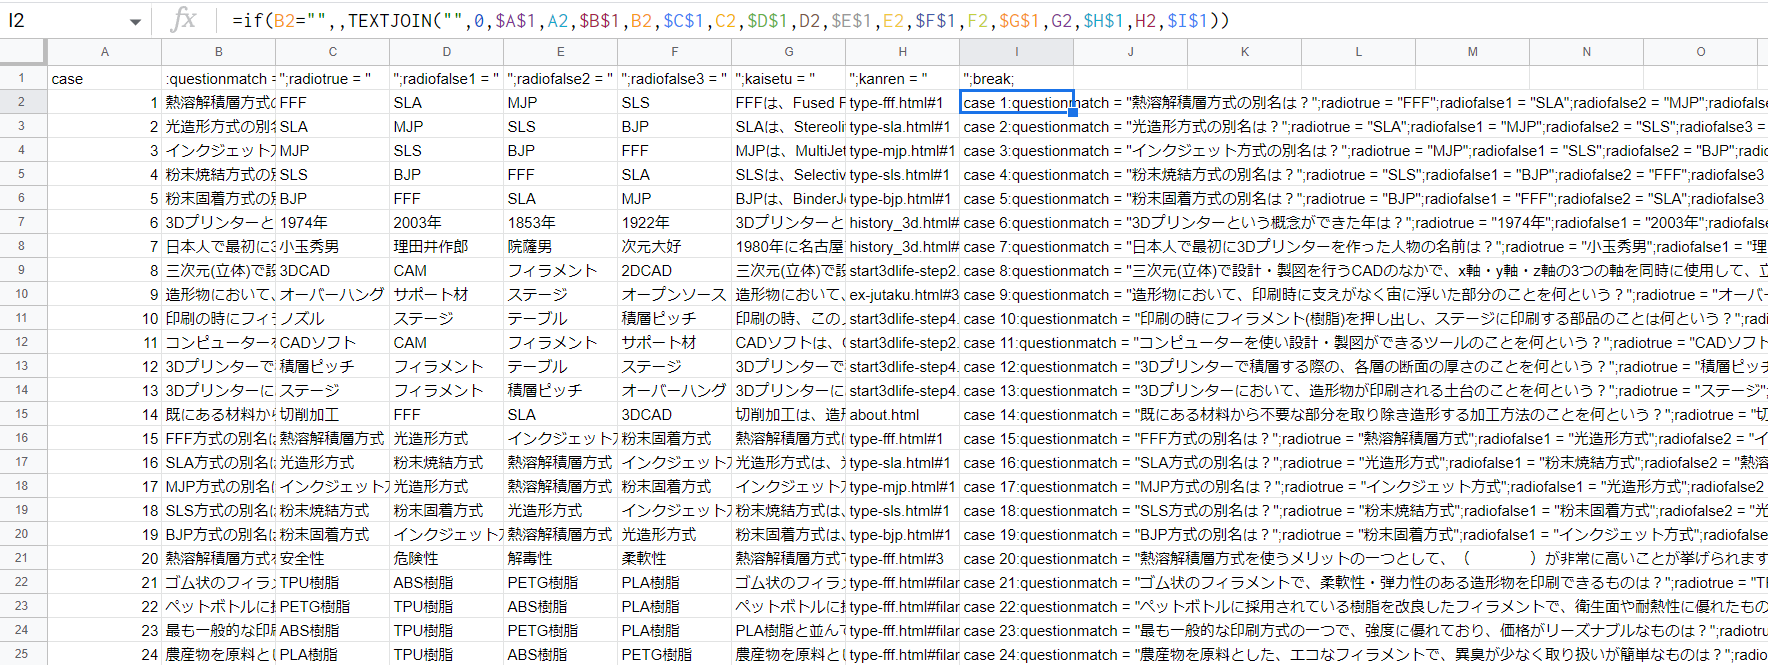
Here is the actual "processing sheet" for the system.
To briefly explain, each question is assigned to a conditional branch case of a switch statement, and the question text, choices, explanations, etc. are placed in the case. This is because the questions on the quiz page are randomly selected from 100 predefined questions... The pieces of the program written in the top row are interspersed among the information entered in the "Input Sheet".

And finally, here is the "output sheet".
Copy and paste it into the designated place in the JavaScript file. That's it...
These are the new pages I have automatically coded in Google Sheets, and without Google Sheets, we would not have been able to manage such a huge amount of content in our future printer. I can't thank you enough!
The Story of Automated Coding After All
Google Sheets is a trademark of Google LLC.
Google and Google Sheets are trademarks of Google LLC and this website is not endorsed by or affiliated with Google in any way .